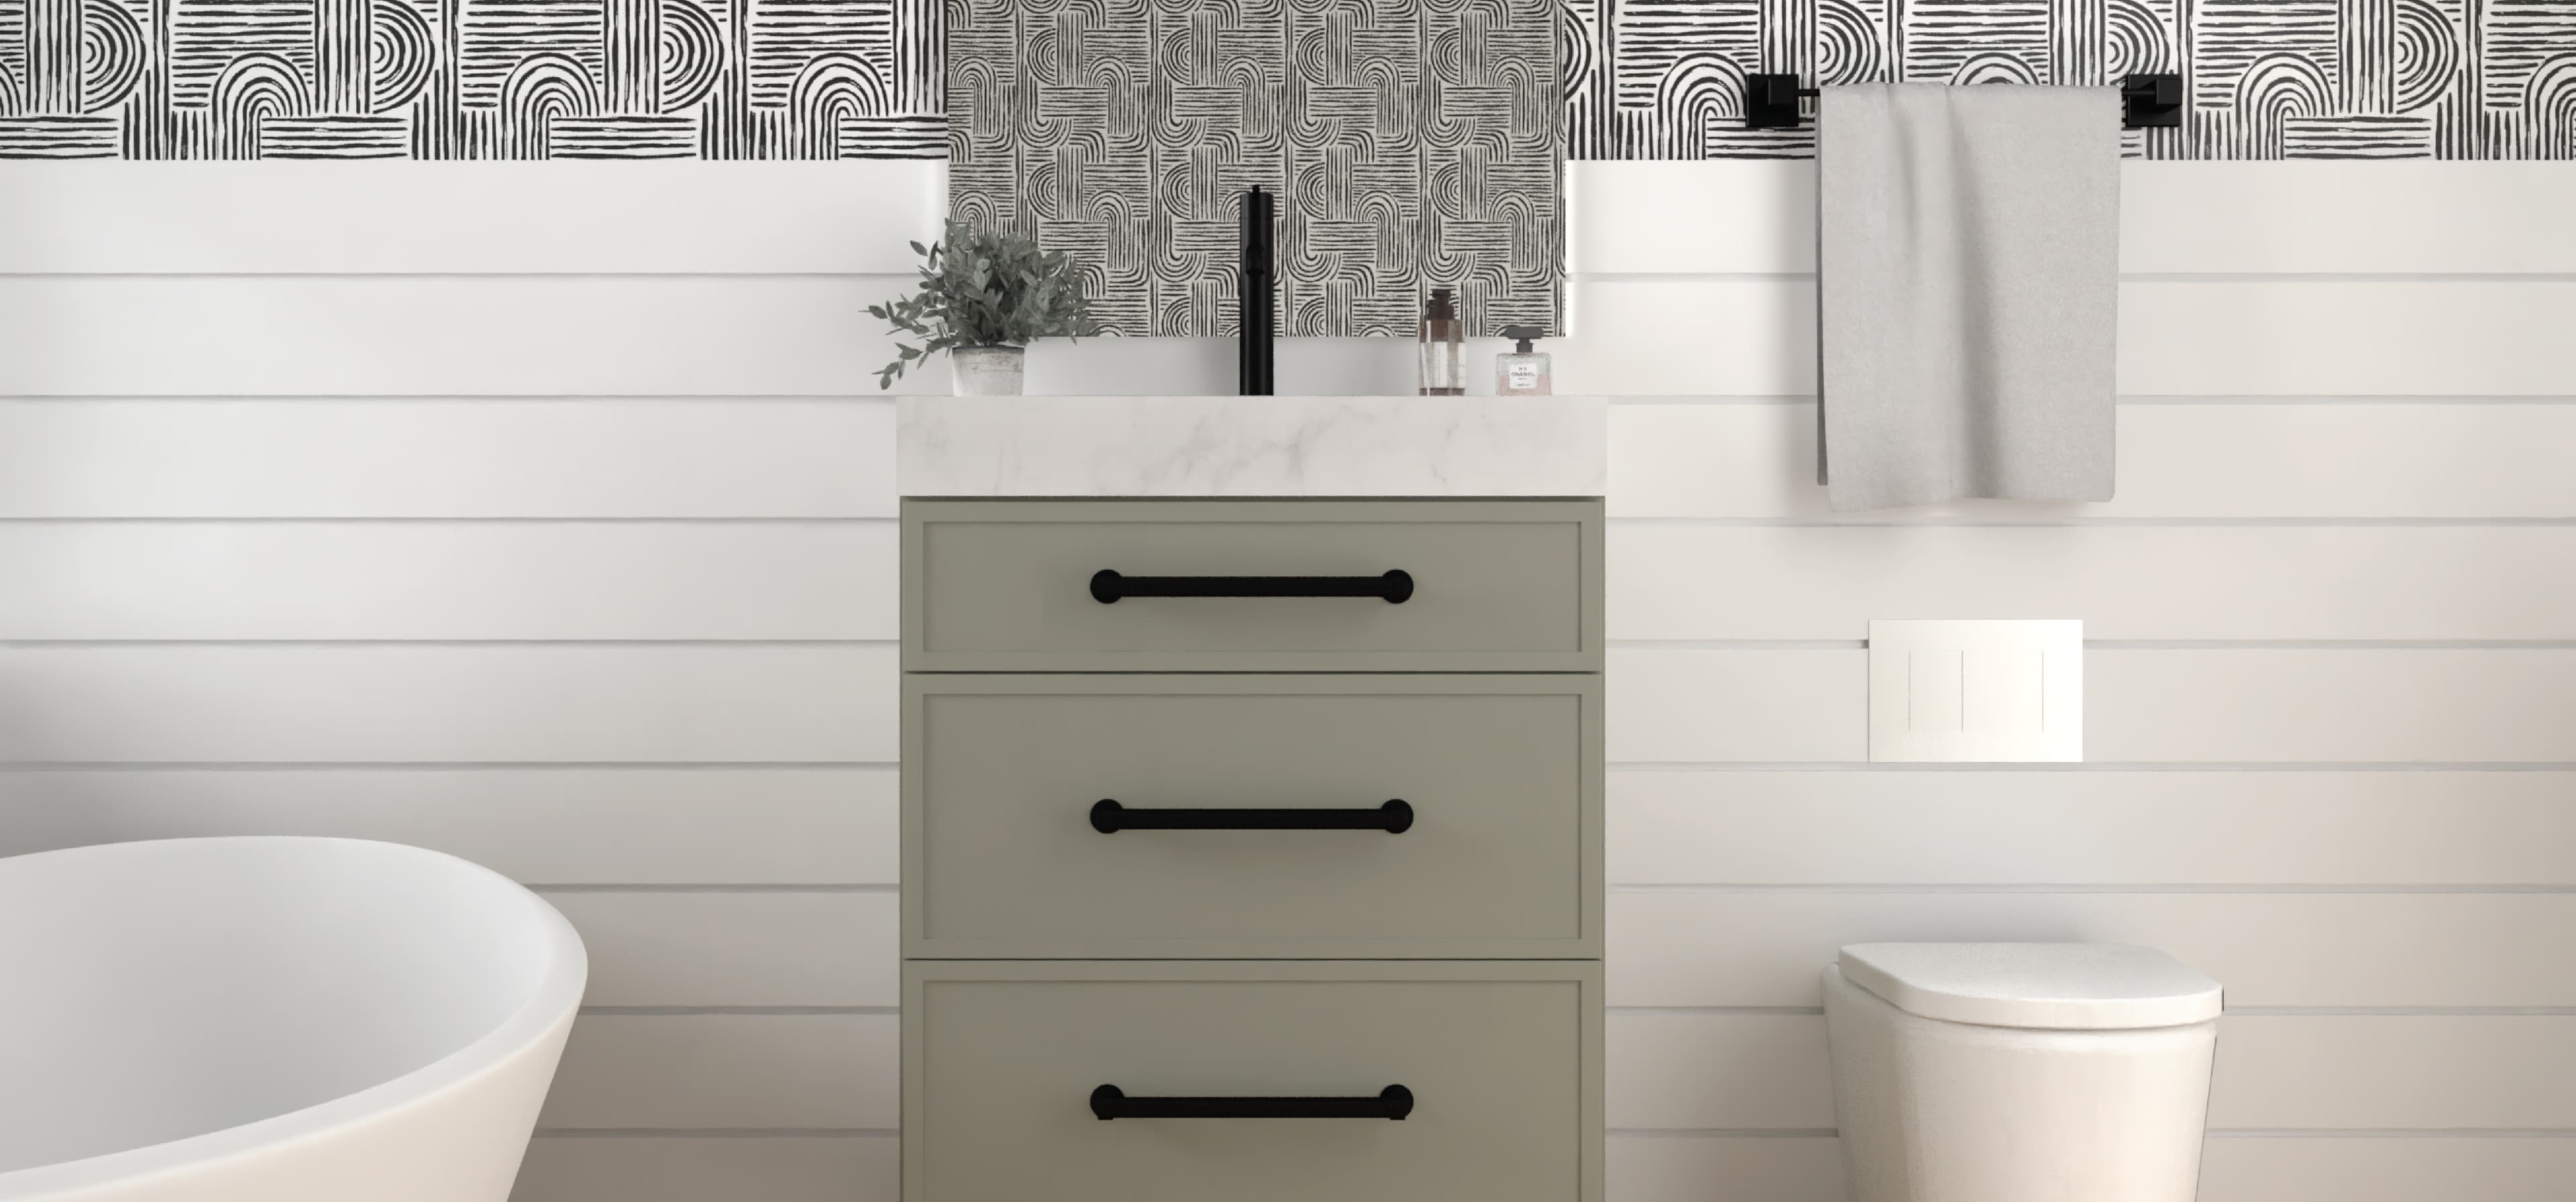
Adding crown molding to your kitchen cabinets is an excellent way to elevate the overall look of your space. Crown molding enhances the aesthetics of your cabinets and provides a polished and finished appearance. You can easily install crown molding on your cabinets with careful measurements and the right tools.
In this blog post, we'll guide you through the entire process, from preparation to finishing touches, ensuring you achieve professional-looking results.
Step 1: Gather Your Tools and Materials

Tools needed:
Compound miter saw
Pneumatic brad nailer or nail gun
Nails
Ladder
Materials needed:
Crown molding
Pine boards or similar scrap wood
Caulk
Pencil
Tape measure
Painters’ tape
Wood glue
Sandpaper
Paintbrush
Primer
Paint/finish
Step 2: Measure Your Cabinets
Before purchasing crown molding, measure the top edge of your cabinets to determine the length needed. Buy extra molding to account for mistakes and angled cuts, which require more material.
Step 3: Attach Pine Boards to the Tops of Cabinets
Attach 1x2” wood to the tops of your kitchen cabinets with a nail gun and wood glue. The extra wood will give you the surface needed to attach the crown molding. This is especially important for frameless cabinets or full overlay cabinet doors since there is no face frame to attach crown molding to.
If you attach the molding directly to your cabinets, there will be no room for the cabinet door to open. The molding can also cover a large part of the cabinet box, making your cabinets appear smaller.
Step 4: Cut Your Crown Molding
Using the miter saw, accurately measure and mark the cut line on the molding with a tape measure and pencil. Adjust the angle of the saw using the miter gauge. Understanding the spring angle (the angle formed between the back of the molding and the wall) is crucial for making the proper cut with the miter saw. The most common crown molding spring angles are 38°, 45°, and 52°.
Typical miter and bevel angles:
38-degree spring angle:
Miter angle: 31.6 degrees
Bevel angle: 33.9 degrees
45-degree spring angle:
Miter angle: 35.3 degrees
Bevel angle: 30 degrees
52-degree spring angle:
Miter angle: 38.4 degrees
Bevel angle: 26.6 degrees
Step 5: Install the Crown Molding
Get out your ladder to comfortably reach the top of your cabinets. Use a pneumatic brad nailer with 1.5-inch brad nails to attach the molding to the boards you installed on top of your cabinets.
Place nails every 12 inches along the molding and within 1-2 inches at the ends and joints. Use additional nails to ensure a secure fit for the inside and outside corners. For outside corners, apply wood glue and tape overnight to ensure an extra strong hold.
Did you know there is foam crown molding? This lightweight and cost-effective alternative to traditional wood or plaster crown molding is made from high-density polyurethane foam. It is easy to handle, cut, and install. It can be cut with a utility knife and installed using adhesive, making it a much simpler option than traditional crown molding.
Step 6: Finishing Touches
After securely installing the crown molding, caulk the seams and nail holes with paintable caulk. Sand the filled areas smooth and apply a primer before painting or staining the molding to match your cabinets. Ensure the paint or stain complements your existing cabinetry for a cohesive look.
Tips for Installation Success
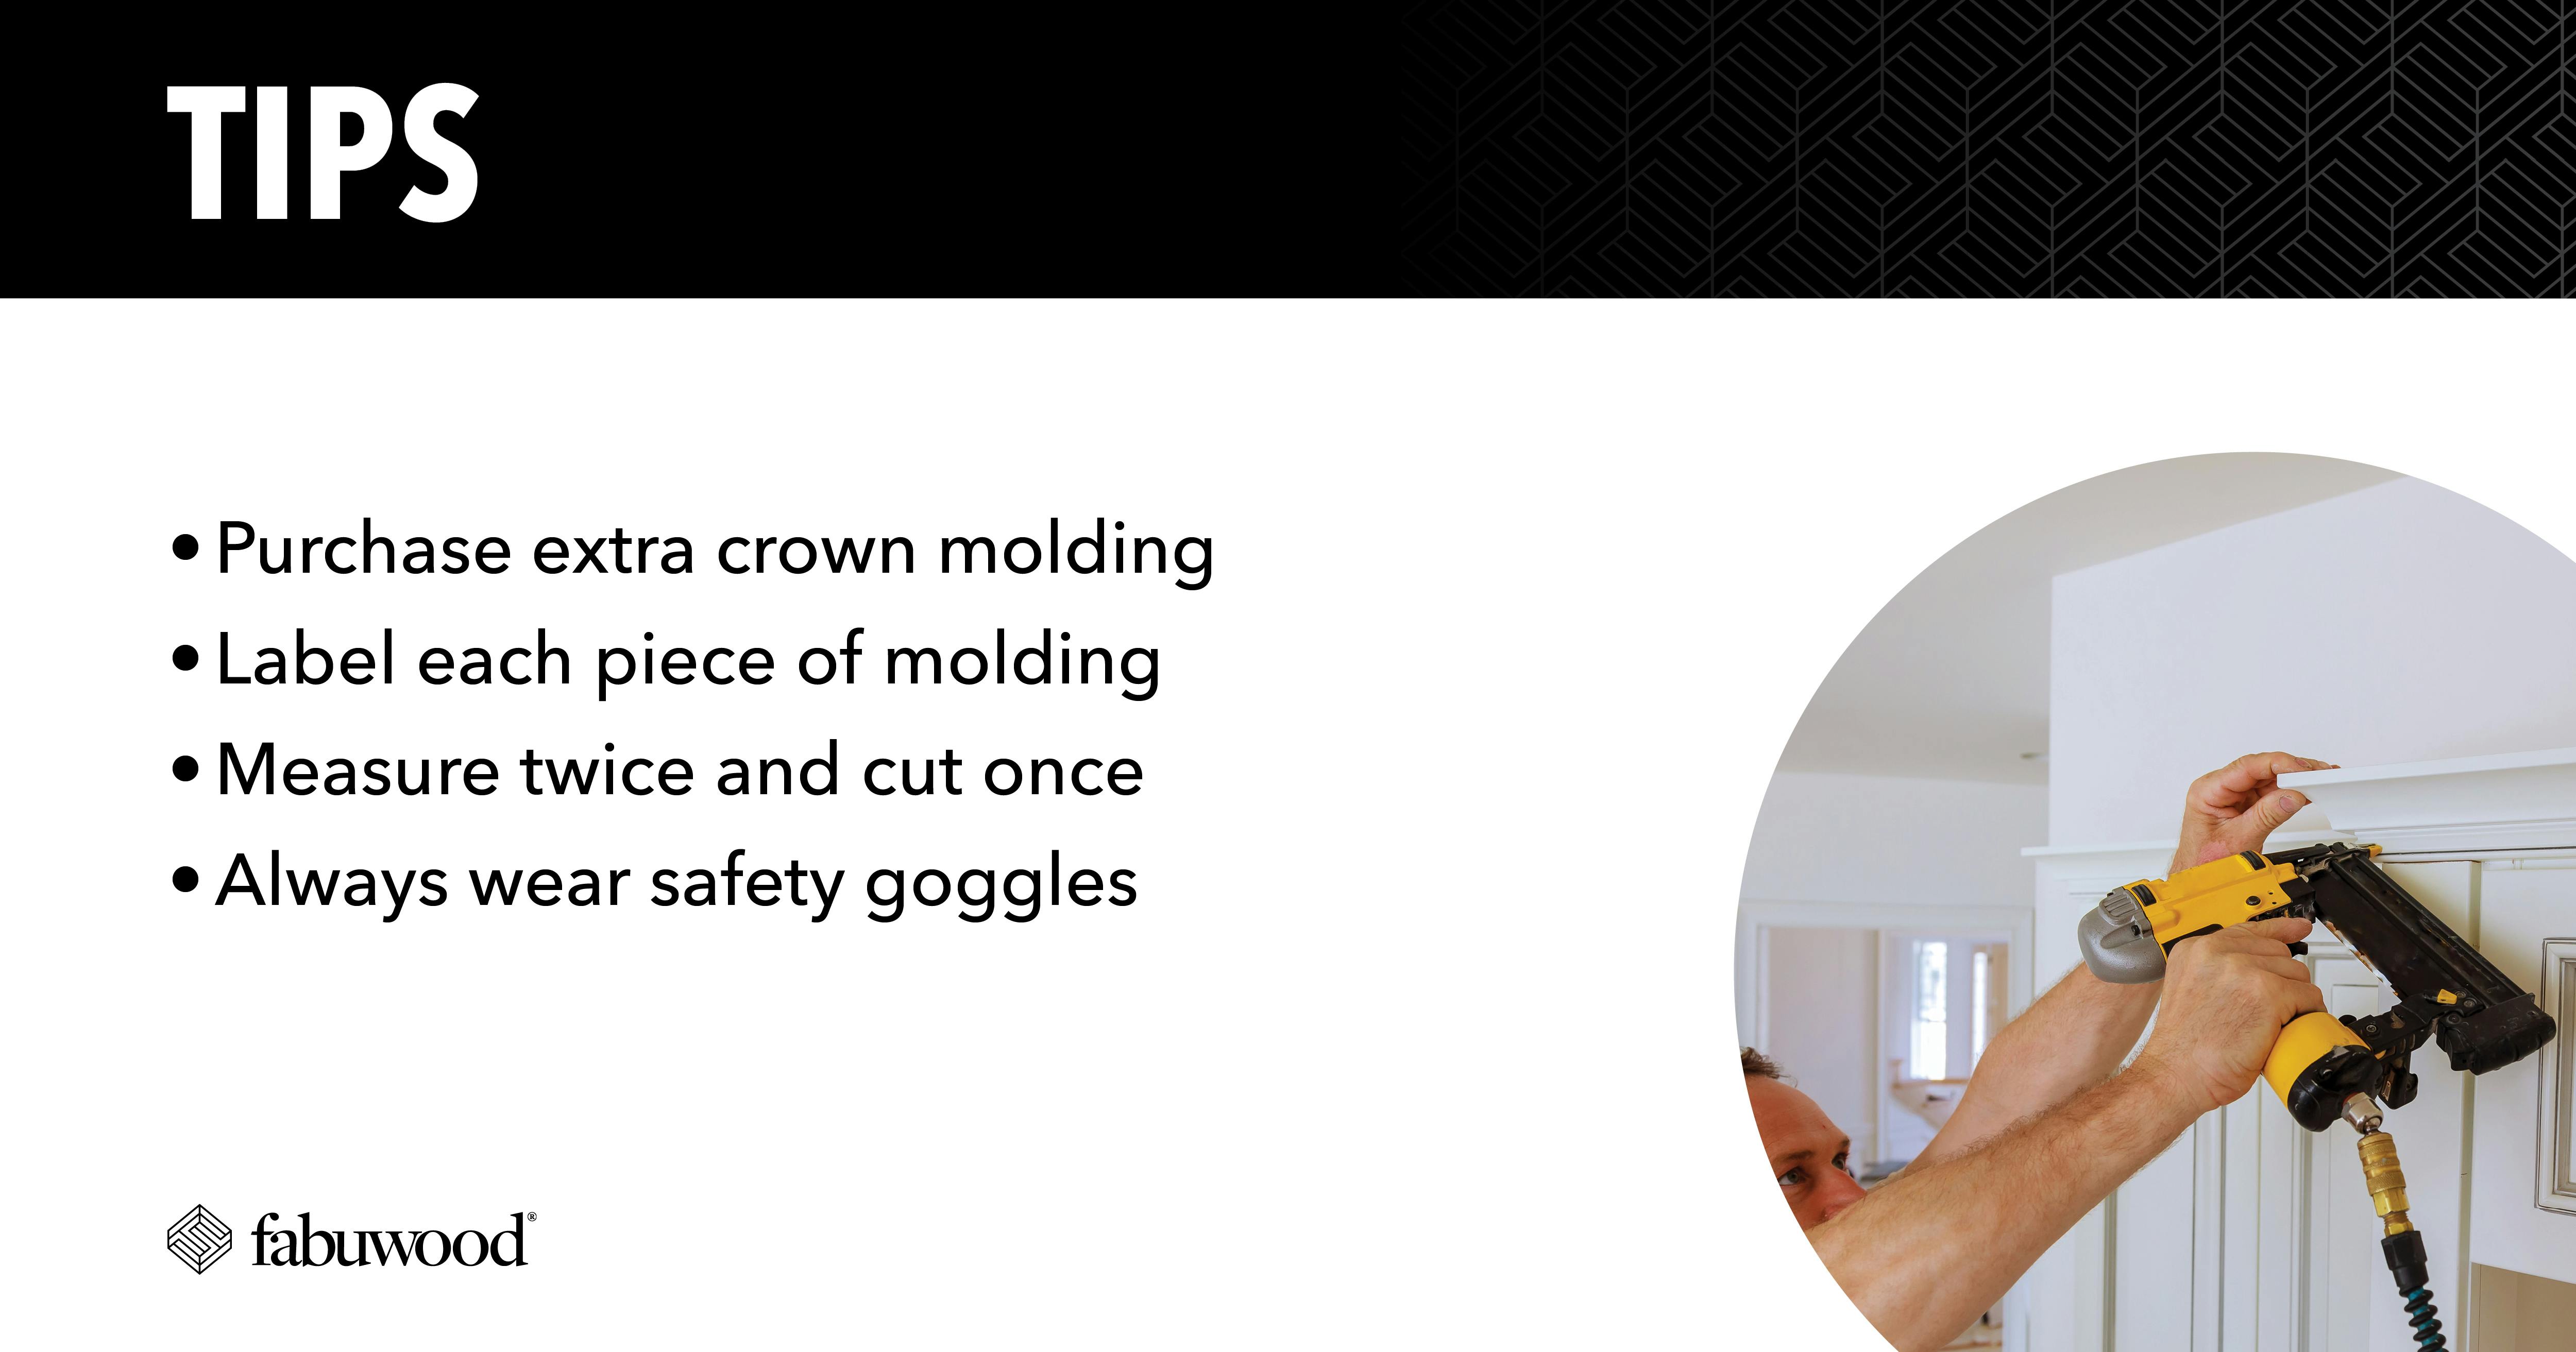
We've learned a few tips and tricks from industry experts that will help you install your crown molding:
Purchase extra crown molding to account for any mistakes
Label each piece of molding to keep track of where it will be installed
Measure twice and cut once; take your time measuring and cutting to ensure precise cuts
Always wear safety goggles when cutting and nailing
Installing crown molding on your kitchen cabinets is a great way to add elegance and a finished look to your space. You can achieve professional-looking results by following these six simple steps and using the right tools and materials.
Remember to take your time, measure carefully, and don’t hesitate to use foam crown molding for an easier alternative. With patience and attention to detail, you'll transform your kitchen and give your cabinets a beautiful, polished appearance. To choose the cabinets that will go beautifully with your crown molding, check out our Visualizer.
FAQS
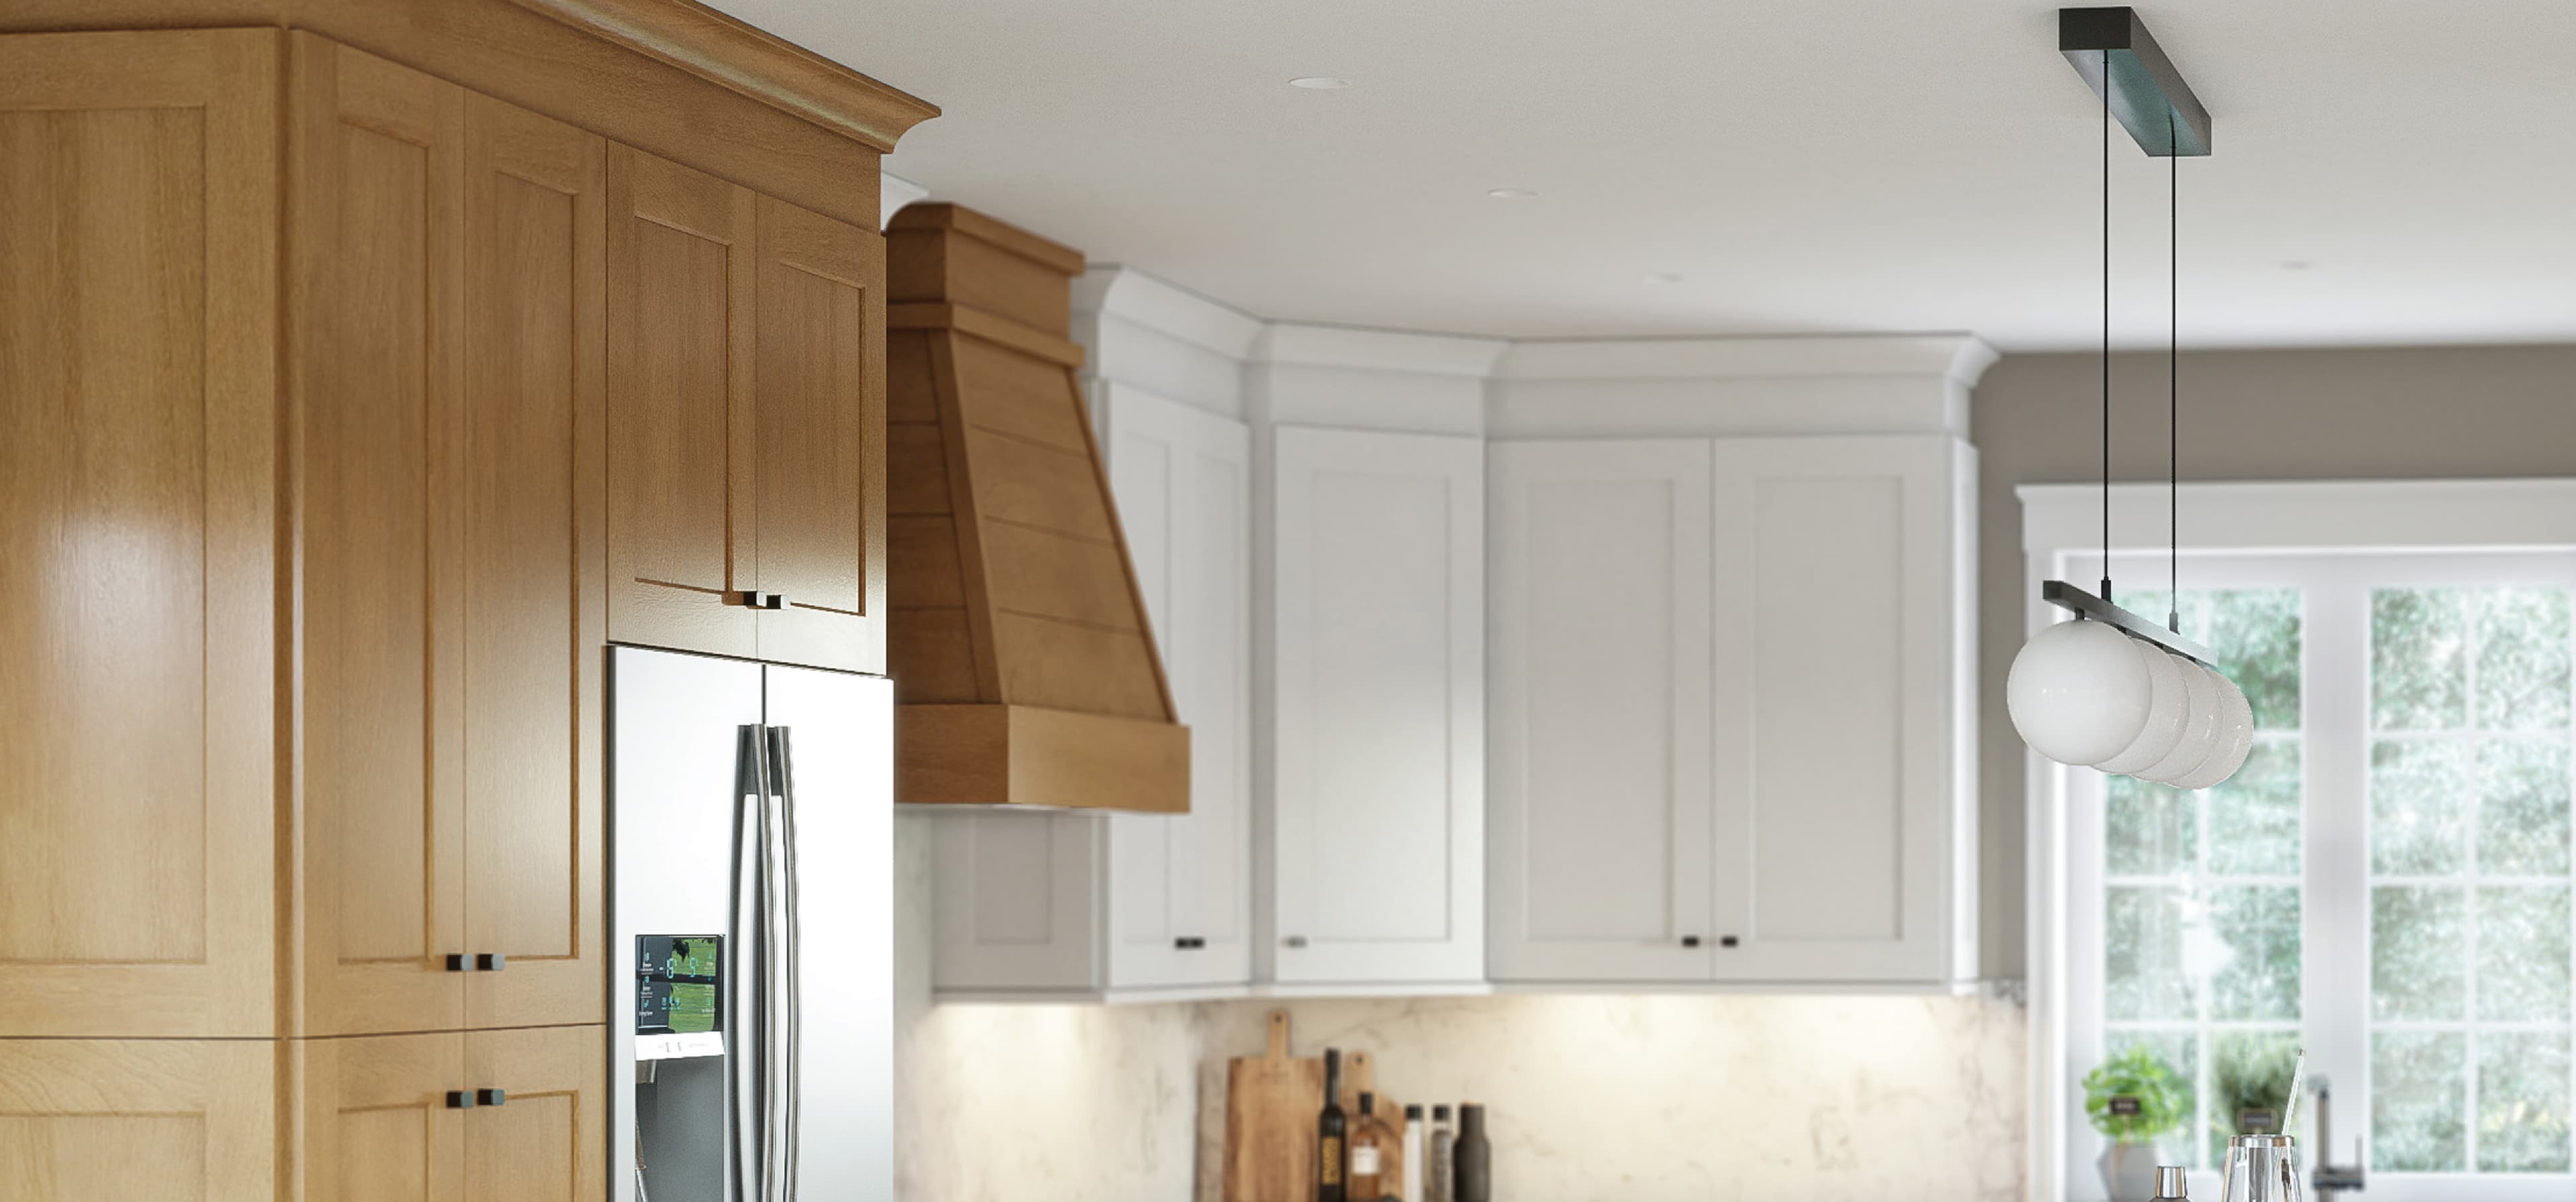
Does crown molding have to touch the ceiling?
Never have crown molding any closer than 9 inches from the ceiling. If it gets any closer, your kitchen will look cramped.
What are the angles for cutting cabinet crown molding?
When cutting crown molding, the common angles are 38, 45, and 52 degrees.
When should I not use crown molding on my cabinets?
Crown molding will not look good with cathedral or vaulted ceilings.
What is the current trend in crown molding?
Gone are the intricate and detailed crown moldings of the past. Clean, sleek, and angular crown molding is popular in kitchen design today.