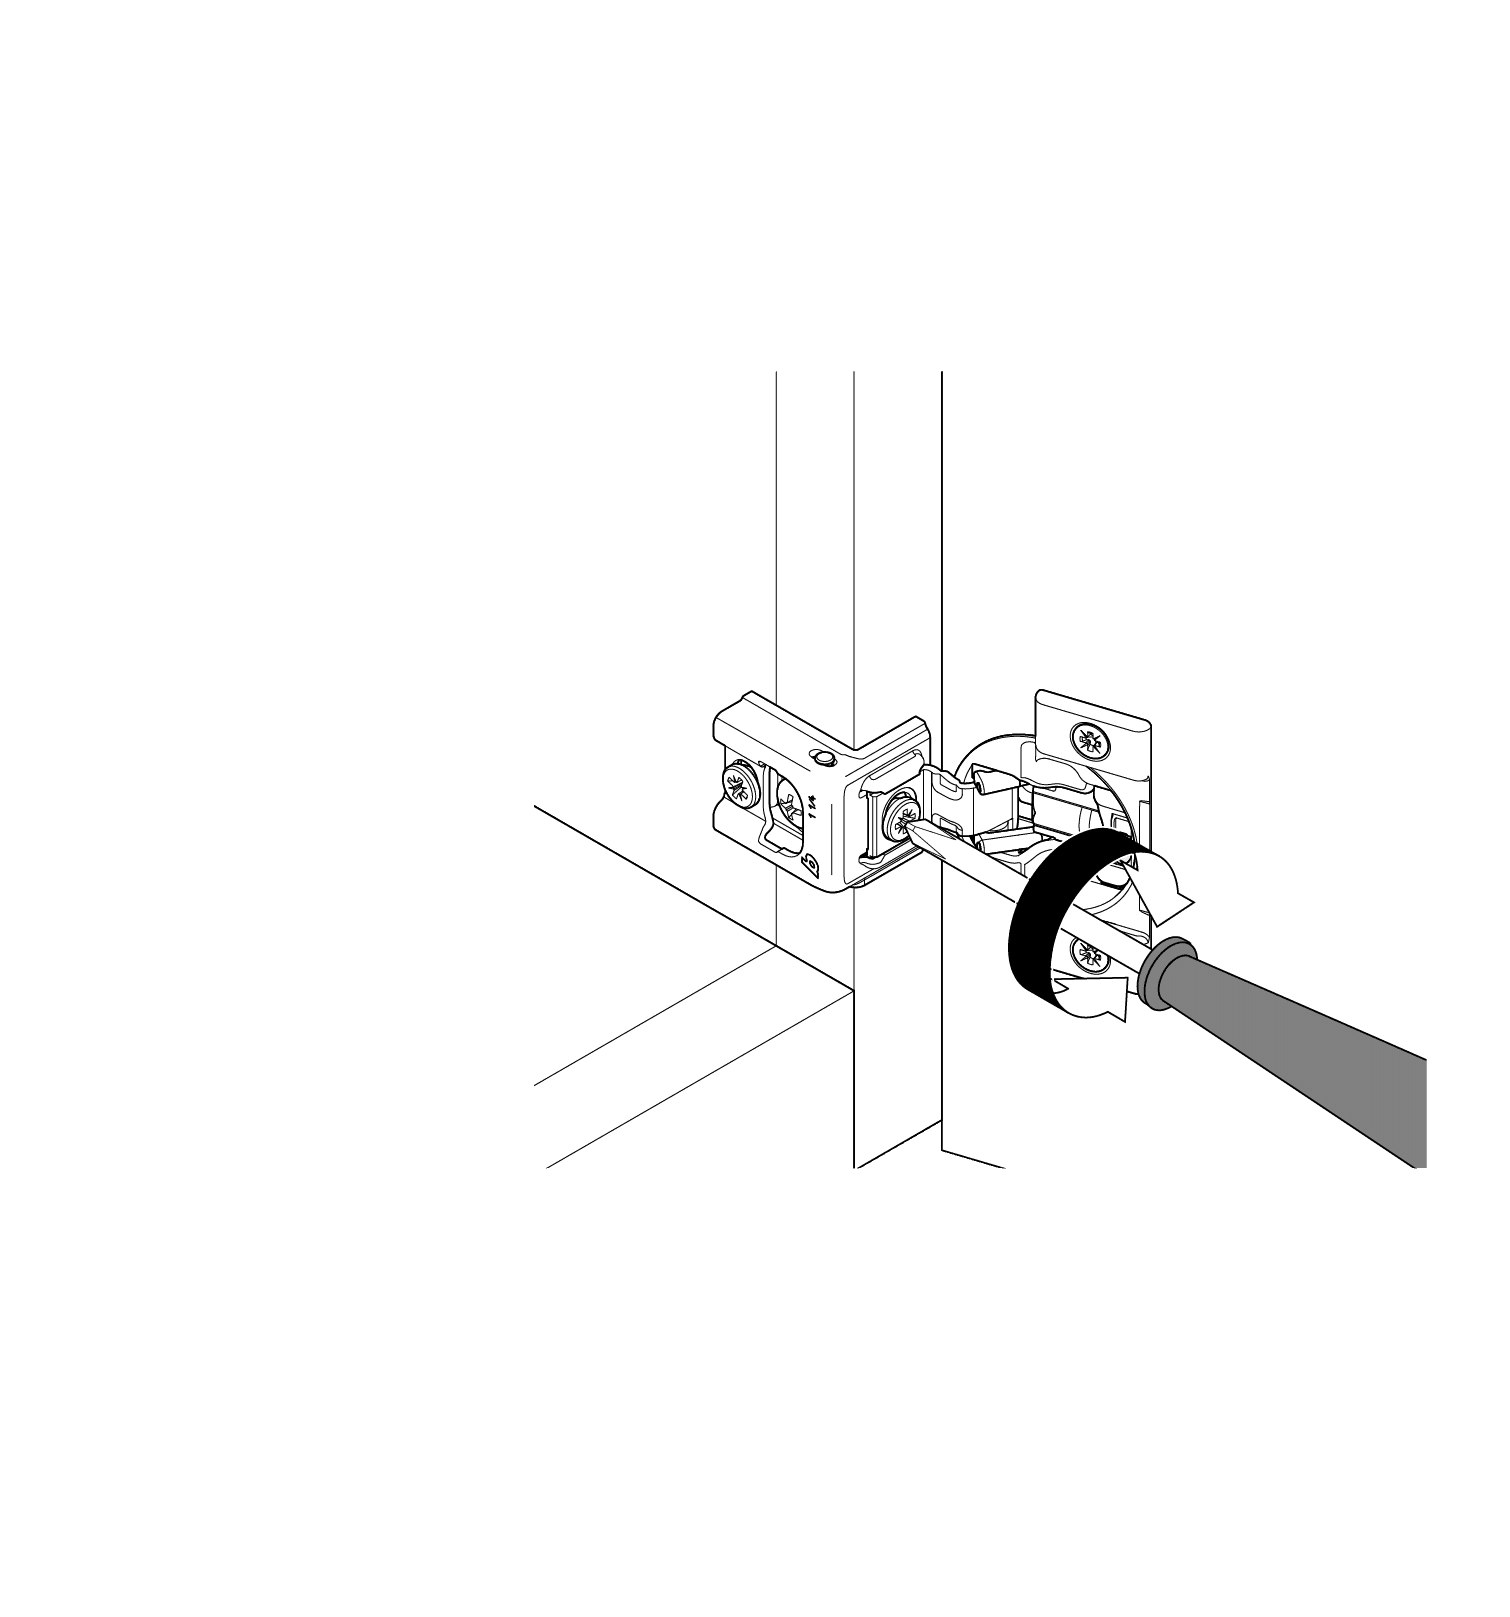
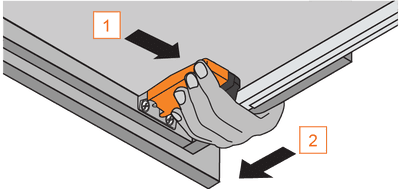
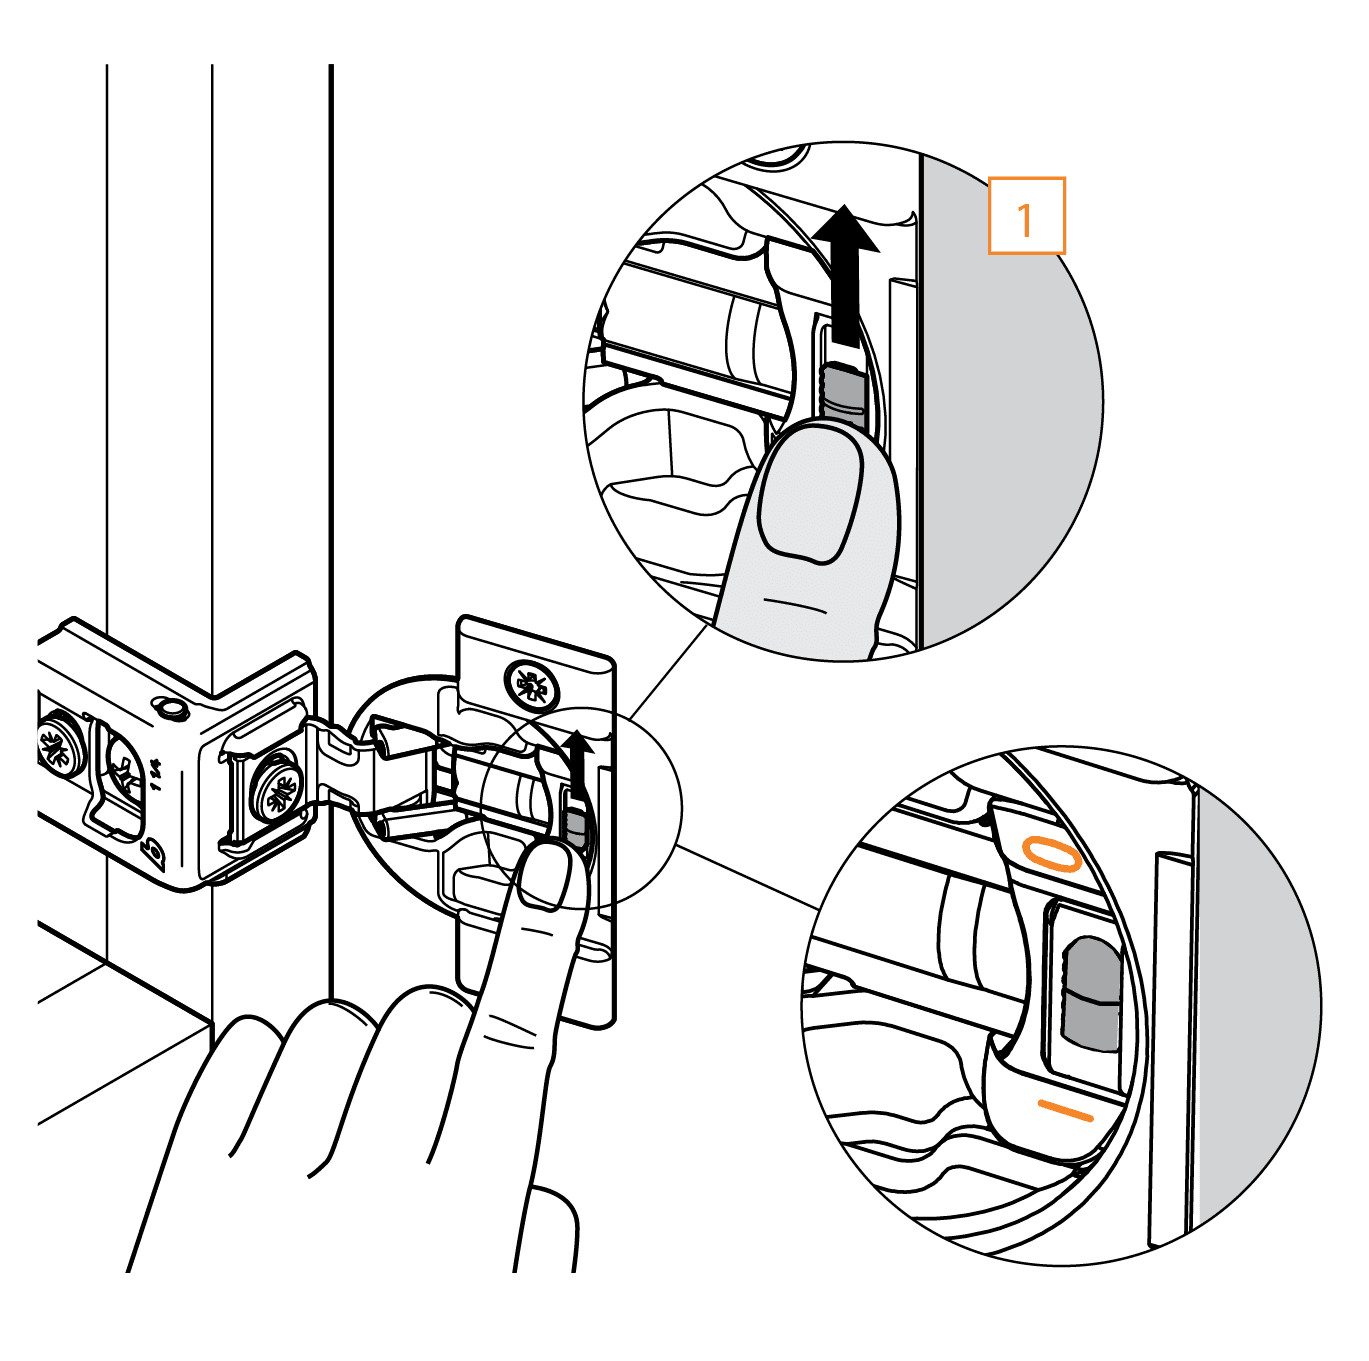
Cabinet Hinge
Adjustment

Compact blumotion deactivation

Switch on the hinge cup
For small or light doors, the BLUMOTION can be deactivated on one of the hinges. COMPACT BLUMOTION comes in the activated position, marked with a "I". The deactivated position is marked with a "0".
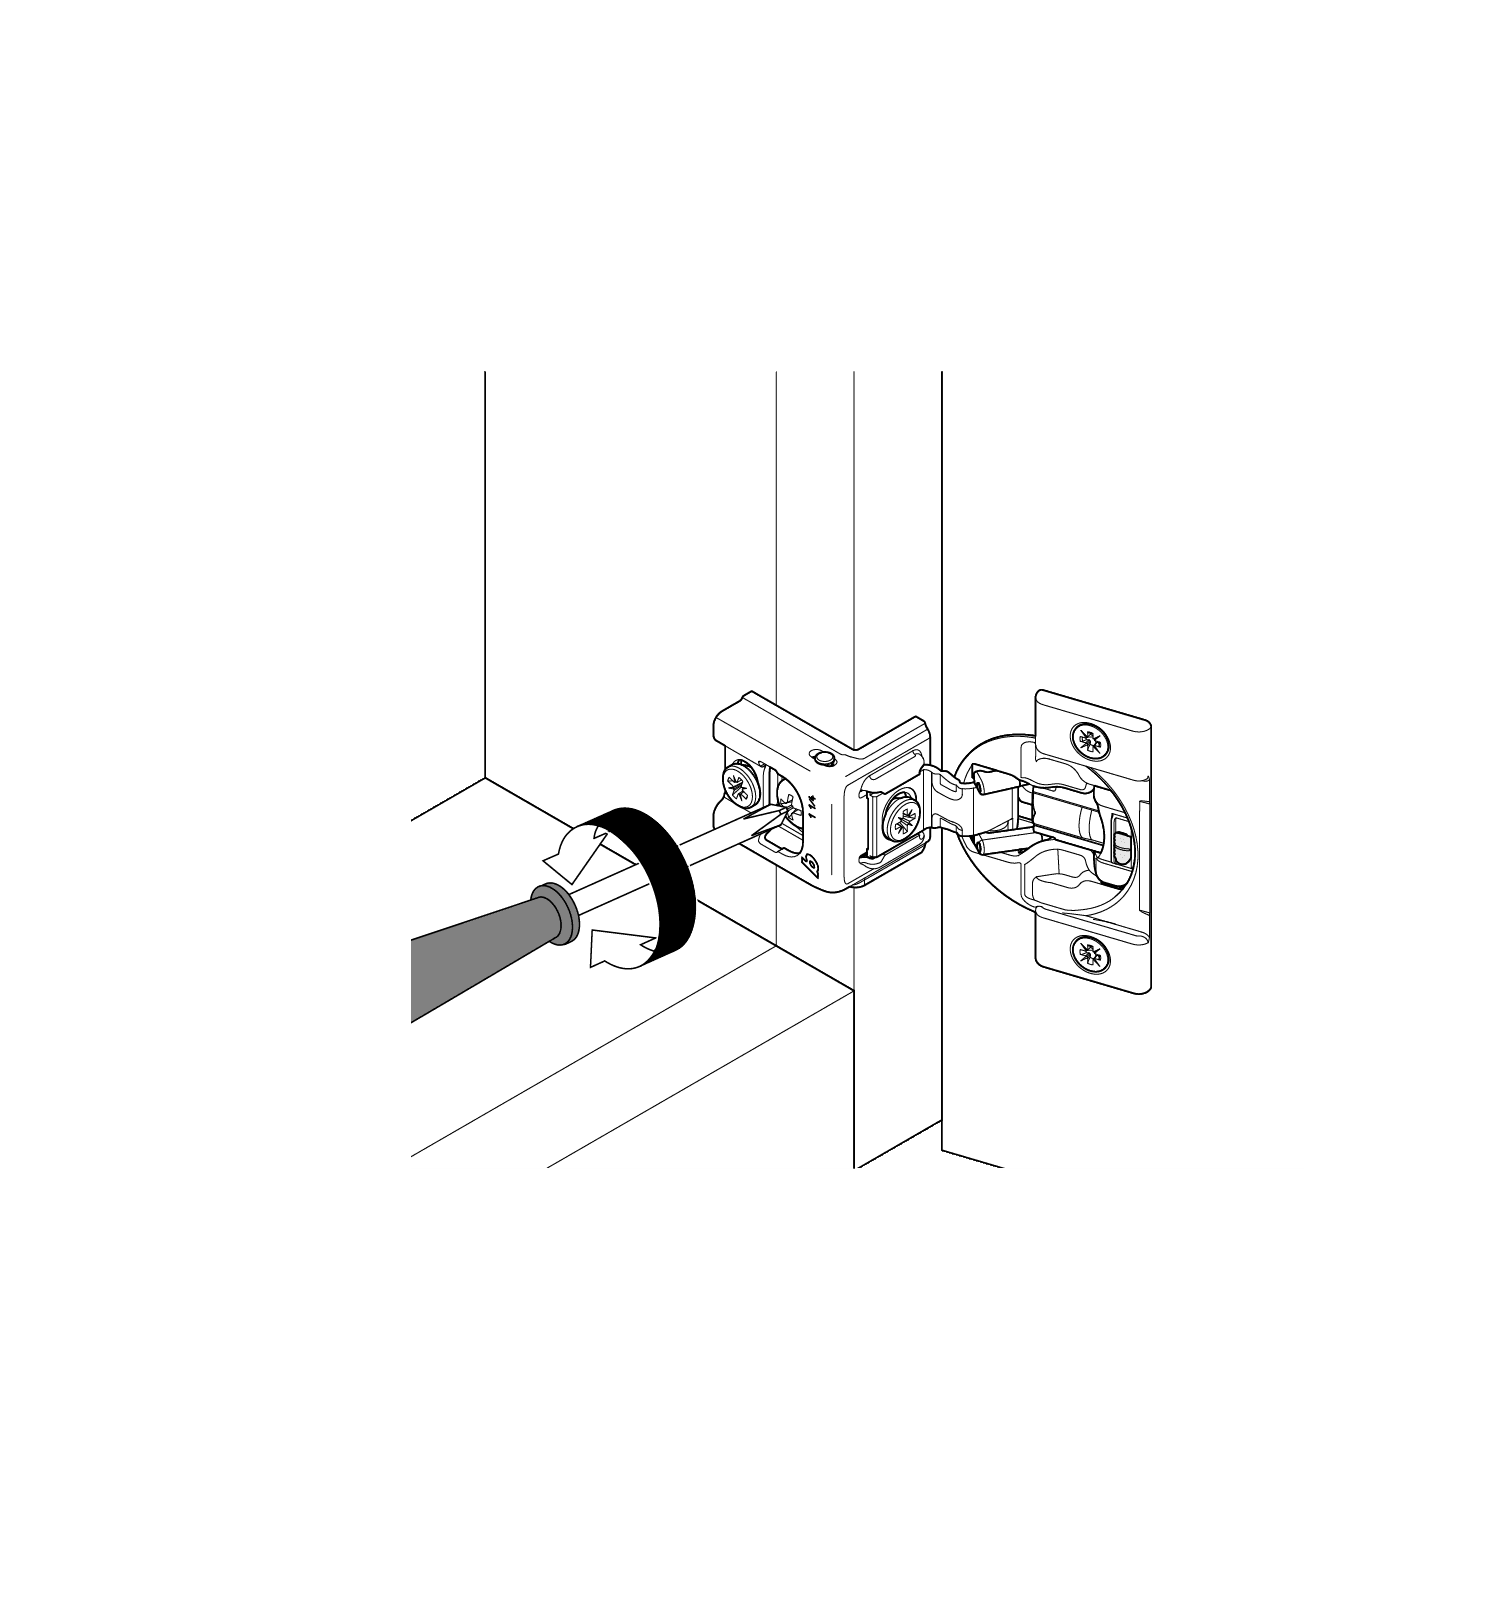
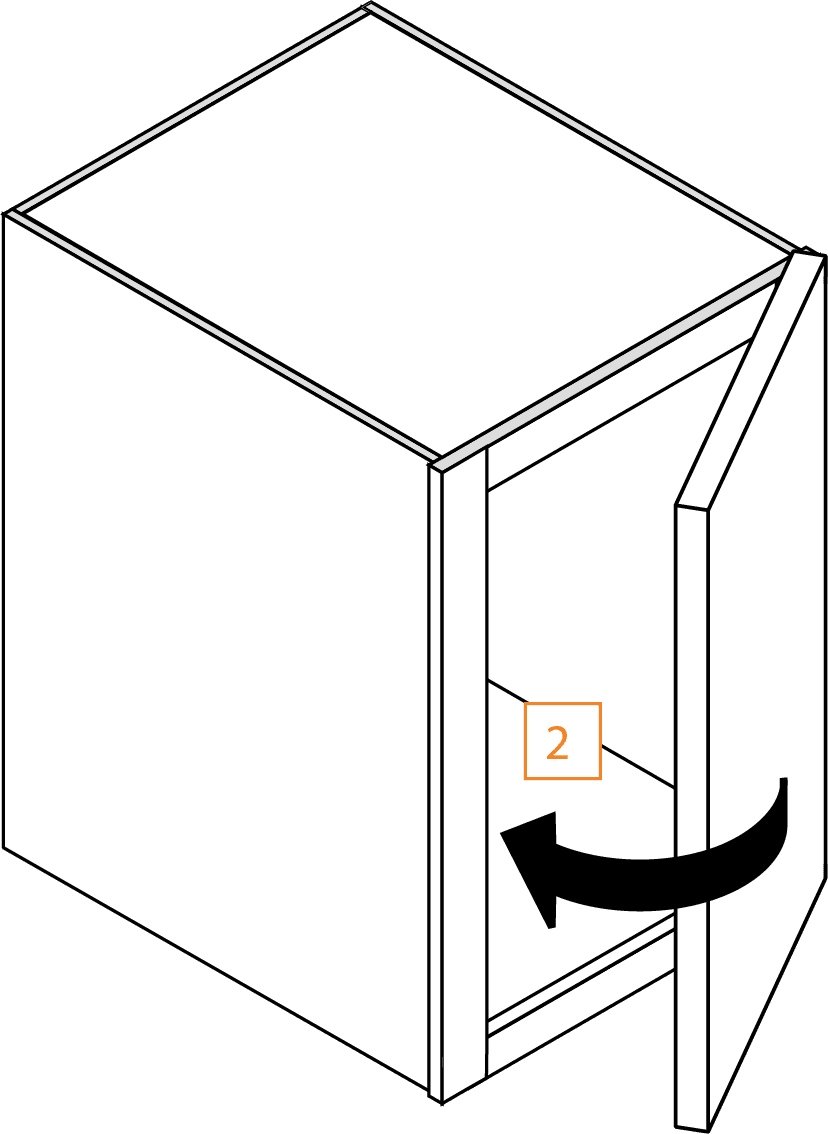
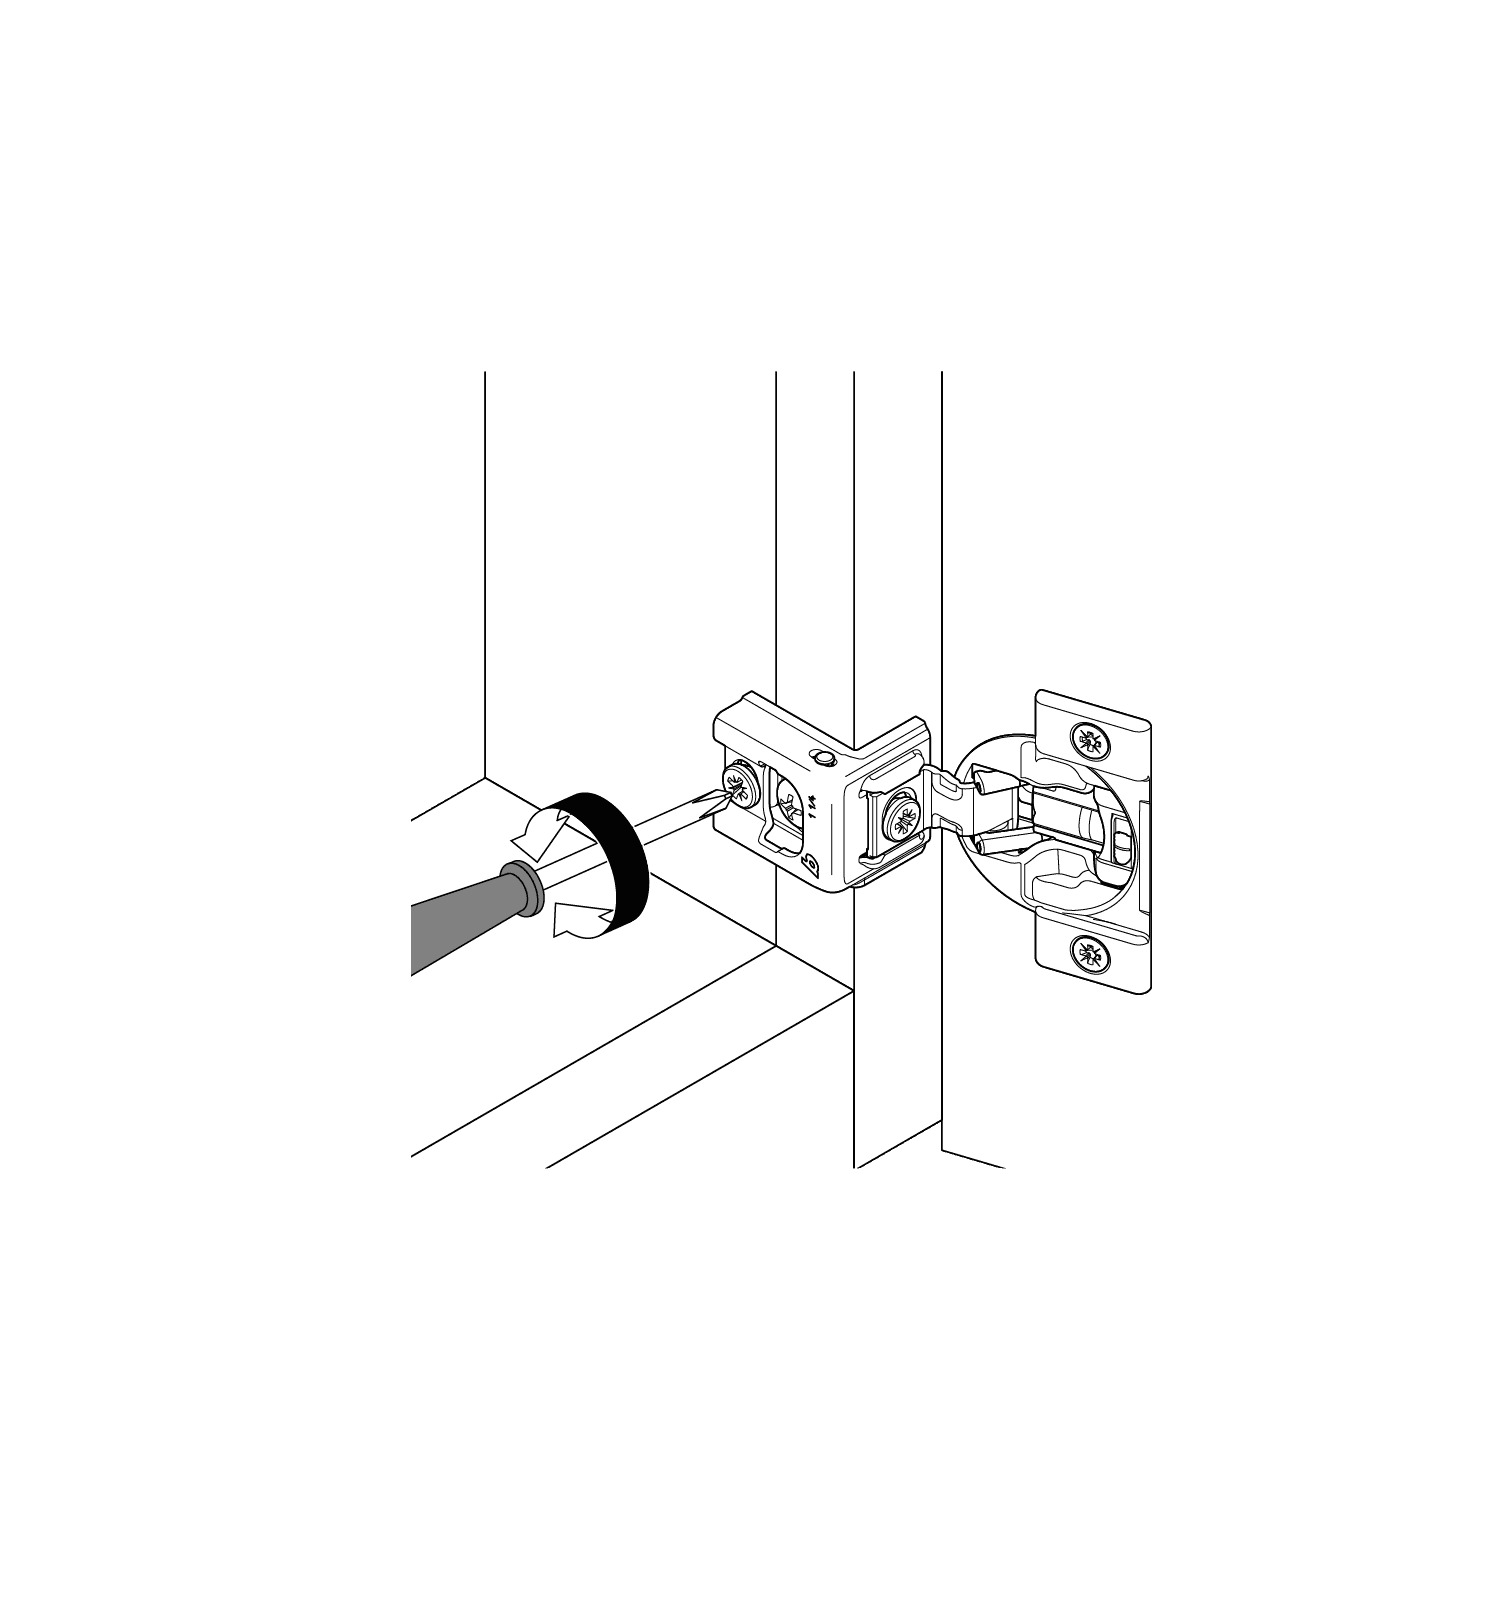
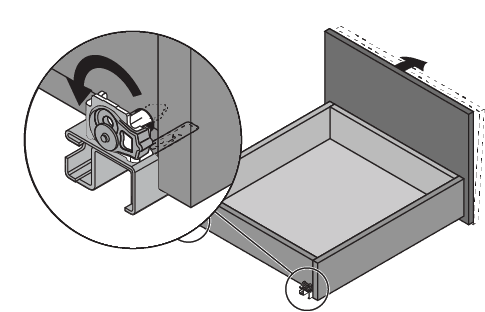
Door must be closed once for the deactivation to be complete. To reactivate, move switch back to the original position “I”.

Compact blumotion door adjustment

Side Adjustment
Rotate the front cam screw to increase or decrease door overlay (+/- 1/16”).
Height Adjustment
Loosen installation screws to adjust door position (+/- 1/8”), then retighten.
Depth Adjustment
Rotate the rear cam screw to adjust door gap (+ 3/32”, - 1/32”).

Tandem plus blumotion runner

Drawer insertion
Extend the concealed runners fully. Place the drawer on the runners and close. The locking devices automatically engage with the runners. Make adjustments if necessary.
Drawer Removal
  • Squeeze orange handles on locking devices
  • Pull drawer straight out and up
Height Adjustment
  • Press up on adjustment tab
  • Push towards back of drawer
Maximum 3 (1/8”) rise of drawer front (tool-free)
Tilt Adjustment
Rotate the tilt adjustment lever on the rear of each runner to lift the back of the drawer and tilt the top of the drawer front forward
Maximum 5 (3/16”) rise of drawer back (tool-free)

DTC hinges

Side Adjustment
Rotate front screw.
Height Adjustment
Rotate screw showing vertical arrows.
Depth Adjustment
Rotate screw showing horizontal arrows.

DTC hinge soft close deactivation

Built in Soft Close for KD, Hallmark Frost, and Hallmark Upgrade
Switch on the hinge cup:
For small or light doors, the soft close mechanism can be deactivated on one of the hinges.
Door must be closed once for the deactivation to be complete. To reactivate, move switch back to the original position.

drawer front attachment (For Cabinets Assembled By Fabuwood)

  1. Remove screws from interior of drawer box(when screws are installed).
  2. Right/Left Adjustment
  3. Loosen screws on drawer front attachments. Move drawer front right or left. Tighten screws.
  4. Up/Down Adjustment
  5. Move drawer front up or down.
  6. Re-insert screws in interior of drawer box.