The internet has trained us to experience a kitchen renovation in thirty seconds: demolition, a satisfying cabinet montage, then someone places a bowl of lemons on the island as if the walls were never uneven and the refrigerator door always opened perfectly. Real installation week has a slightly different edit, usually involving blue tape, appliance PDFs, and one very important conversation about an inch of clearance.
You do not need to know how to install kitchen cabinets yourself to ask informed questions, so consider this your preinstallation briefing.
This is preventative guidance, not a replacement for manufacturer instructions, local codes or an experienced installer.

1. Depending on measurements taken before demolition
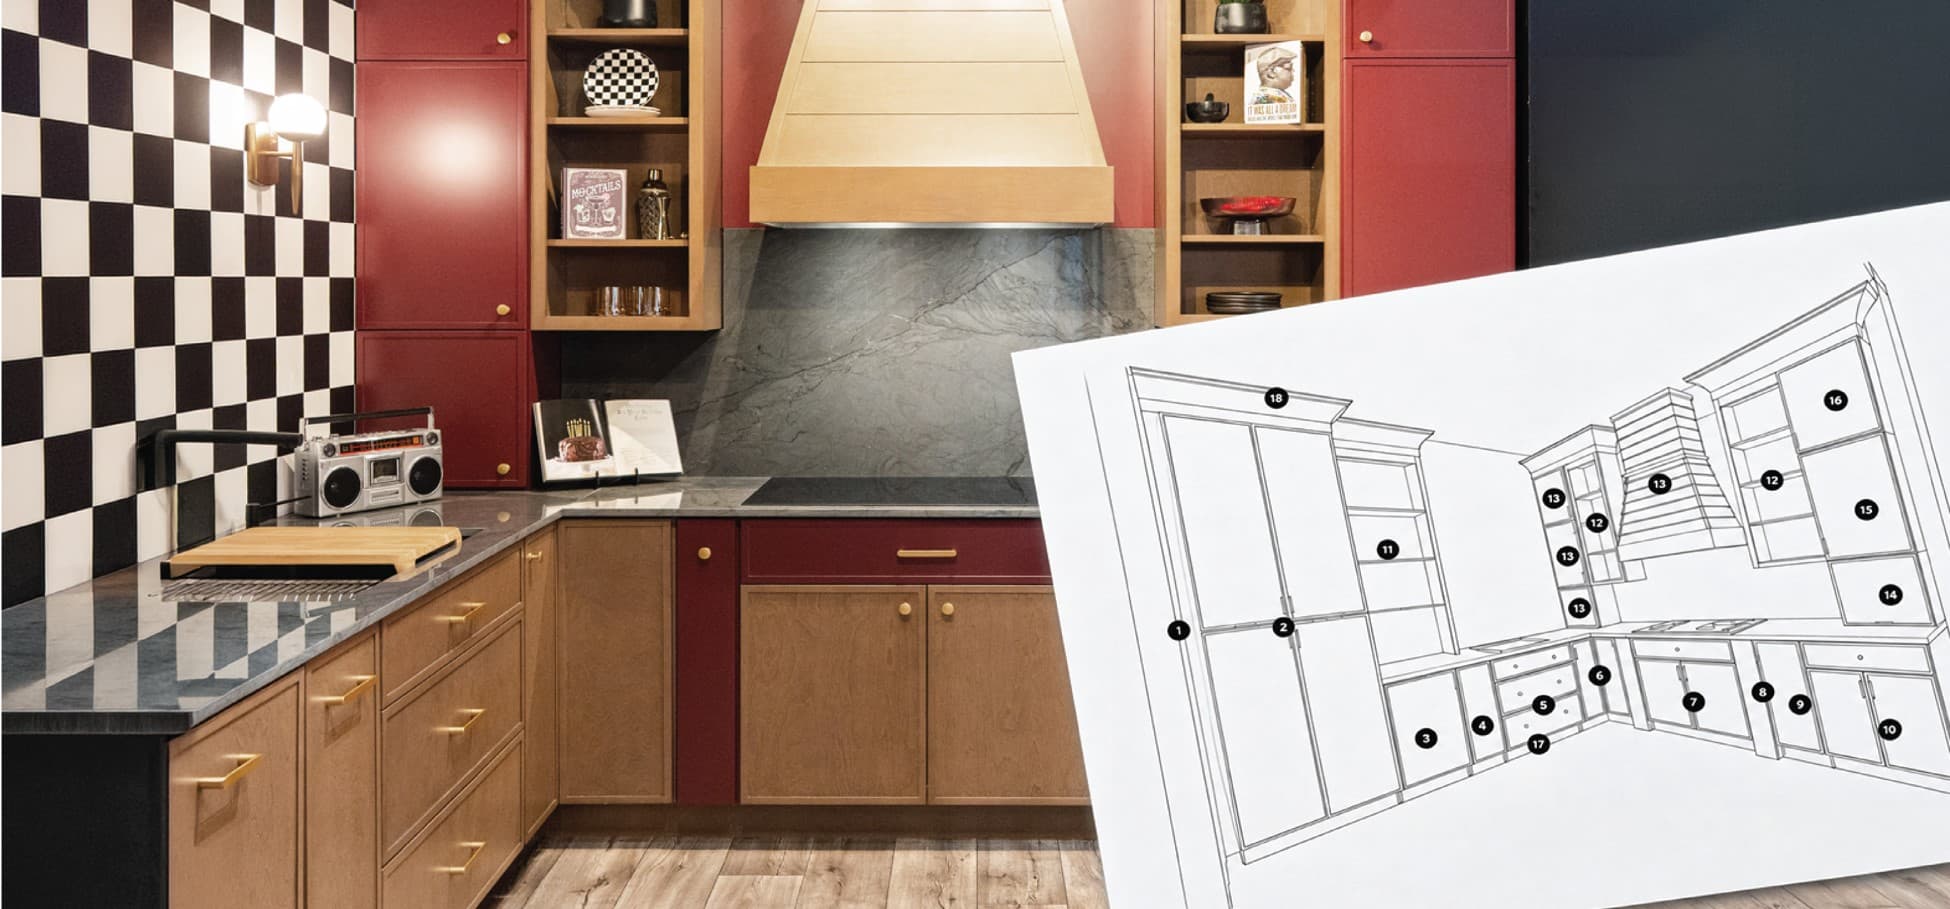
Measuring for cabinets is rarely a one and done exercise. Your original dimensions may have been accurate, yet once the old kitchen is removed, you might discover an uneven corner, a lower section of ceiling, a thicker finished wall or plumbing and electrical connections in slightly different positions than the plan assumed.
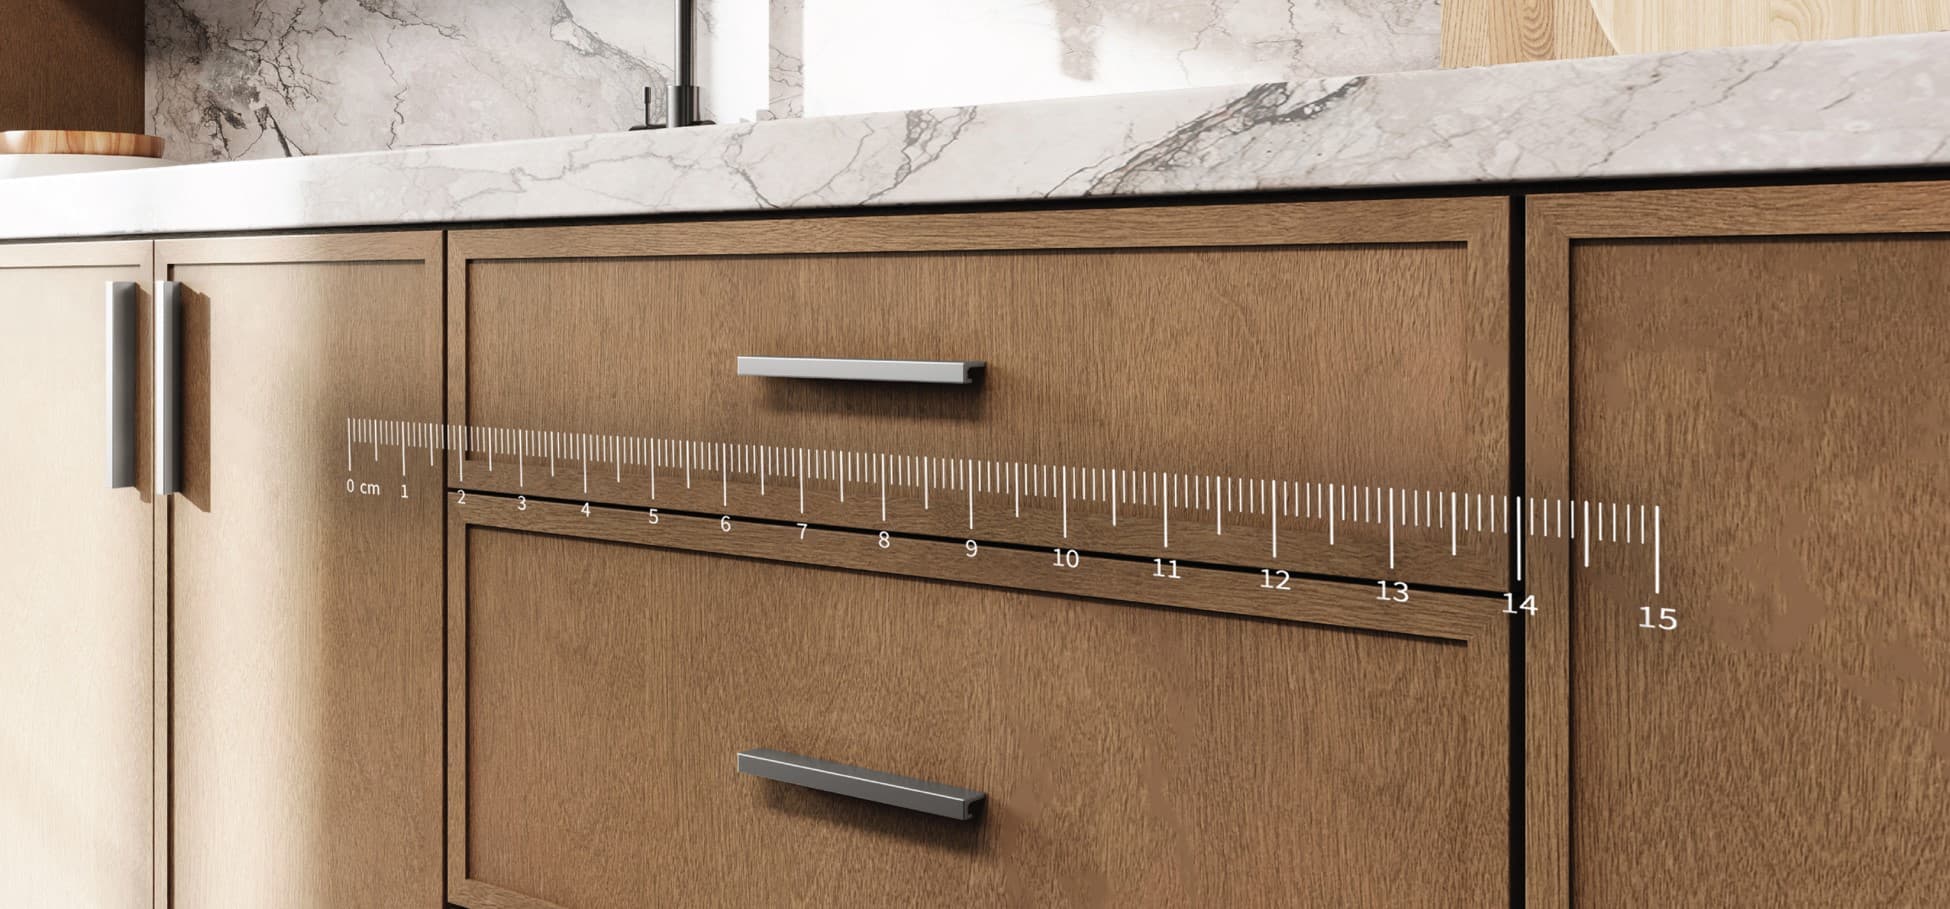
Before installation begins, have the installer verify the finished room again, including wall lengths, ceiling height, corners, windows, doorways, utility locations and island clearances. Fabuwood’s cabinet dimension guide provides a useful reference, while the final field measurements should always reflect what is physically on site.
2. Leaving appliance specifications in the group chat
A screenshot from the appliance showroom is not an installation document, and “standard refrigerator” is not a usable measurement. Once the exact model arrives, you might realize that the handle depth was never included, you cannot open the door fully or the electrical, gas and ventilation connections are in different positions than the original layout anticipated.
Keep the final model numbers and manufacturer instructions with the approved kitchen plan, then confirm the width, height, total depth, open door depth, trim requirements and utility locations. As this Whirlpool range guide demonstrates rather clearly, you should not rely on general planning dimensions in place of the complete instructions for the model being installed.
3. Letting the tools come out before the packaging comes off
Delivery day is the moment to confirm what arrived, not simply where to stack it. If you wait until installation to inspect everything, you might discover a damaged corner after the schedule is already moving, or find that a panel, molding or cabinet was supplied in the wrong size or finish.
Compare every item with the order, inspect visible surfaces and corners, verify door styles and finishes, and photograph anything questionable while labels and packaging are still available. If something is incorrect or damaged, contact the dealer before anyone cuts, drills or installs it.

4. Mounting wall cabinets before locating the wall structure
Your installer needs to know where the studs, blocking and utilities are located before positioning wall cabinets. Guessing from the drywall surface can waste time, miss the intended support or create a very unwelcome encounter with wiring or plumbing.
Have the full wall run marked in advance and confirm that the installer will choose fastening methods appropriate to the cabinet construction, the wall, the manufacturer’s instructions and local requirements. If you are researching how to fasten cabinets to a wall, the answer should always account for all four rather than rely on one universal fastener or spacing rule. The current NKBA Planning Guidelines include wall blocking, bracing and cabinetry within their interior planning recommendations for precisely this reason.
5. Assuming the floor is level because it looks level
A floor may appear level at a glance while rising just enough across the room to change the measurements for the entire base cabinet run. If the installer begins from the wrong point, you may end up with inconsistent toe kick heights, alignment problems or unnecessary difficulty when the countertop is measured.
The installer should locate the highest point of the floor and establish a level reference line before setting the first base cabinet, then use appropriate shimming to maintain one consistent plane. When reviewing how to install base cabinets on an uneven floor, this high point matters because it establishes the reference for the rest of the run. NKBA’s cabinet installation guidance also identifies the floor’s high point as an early installation check.

6. Fastening the cabinets before aligning the full run
An installer can attach a cabinet firmly and still leave it out of level, plumb or square. When that happens, you may notice uneven front lines, irregular gaps, difficulty opening the drawers or complications when the countertop team arrives to measure.
Before final fastening, the installer should position and align the full run, check every cabinet, add shims where the floor or wall varies and confirm that the fronts form clean, consistent lines. Fasteners should then be installed according to the manufacturer’s directions, with enough control to secure the cabinetry without distorting the boxes.

7. Treating cabinet filler strips as disposable inches
On the drawing, you may see cabinet filler strips as unused space and feel tempted to trim or remove them so you can recover every possible inch. Later, you might realize that the handle strikes the wall, you cannot extend the drawer fully or the adjacent appliance needs more clearance than expected.
Before changing a filler, ask why the designer included it, what you need to open beside it and whether the installer needs extra width to finish neatly against an uneven wall. A filler may be visually quiet, but the clearance it preserves can prevent a very noisy problem.
8. Testing each opening in isolation
You may test one door, one drawer and one appliance separately and find no problem, only to discover a conflict when you use two at the same time. This becomes especially important around corners, dishwashers, refrigerators, tall pantry cabinets and heavily used prep areas.
Ask the installer to test the kitchen in its busiest possible state, with adjacent doors, drawers and appliance doors open together while also checking handles, walls, trim and walkways. If the plan requires a restricted hinge angle, use the correct component and follow the hardware manufacturer’s instructions rather than relying on an improvised stop.

9. Saving crown molding decisions for the end
You may see crown molding as a decorative flourish, but the installer must solve geometry at every corner. Ceiling height, room variation, cabinet depth, profile size and door clearance all affect the finished result, and a last minute approach can force an awkward proportion or an unnecessary change.
Approve the crown profile, height and build up method with the full elevation before installation, then confirm how the installer will handle corners, end panels and any variation at the ceiling. If you need the full procedure for how to install crown molding on cabinets, refer to Fabuwood’s kitchen cabinet crown molding guide, and order enough material to allow for angled cuts.
10. Leaving before the final adjustment
Once the cabinetry has been installed securely, the installer still needs to review the doors, drawers, hardware and accessories together. This final adjustment is the quiet two percent that gives the kitchen its finished rhythm, because small differences in spacing and alignment become much more visible across an entire run.
Before sign off, open every door and drawer, review the gaps between fronts, test soft close action and drawer travel, and confirm that the interior accessories and decorative hardware operate as planned. Fabuwood’s cabinet adjustment guide, how to video library and Blum’s hinge assembly instructions and videos provide product specific guidance when an adjustment is required.
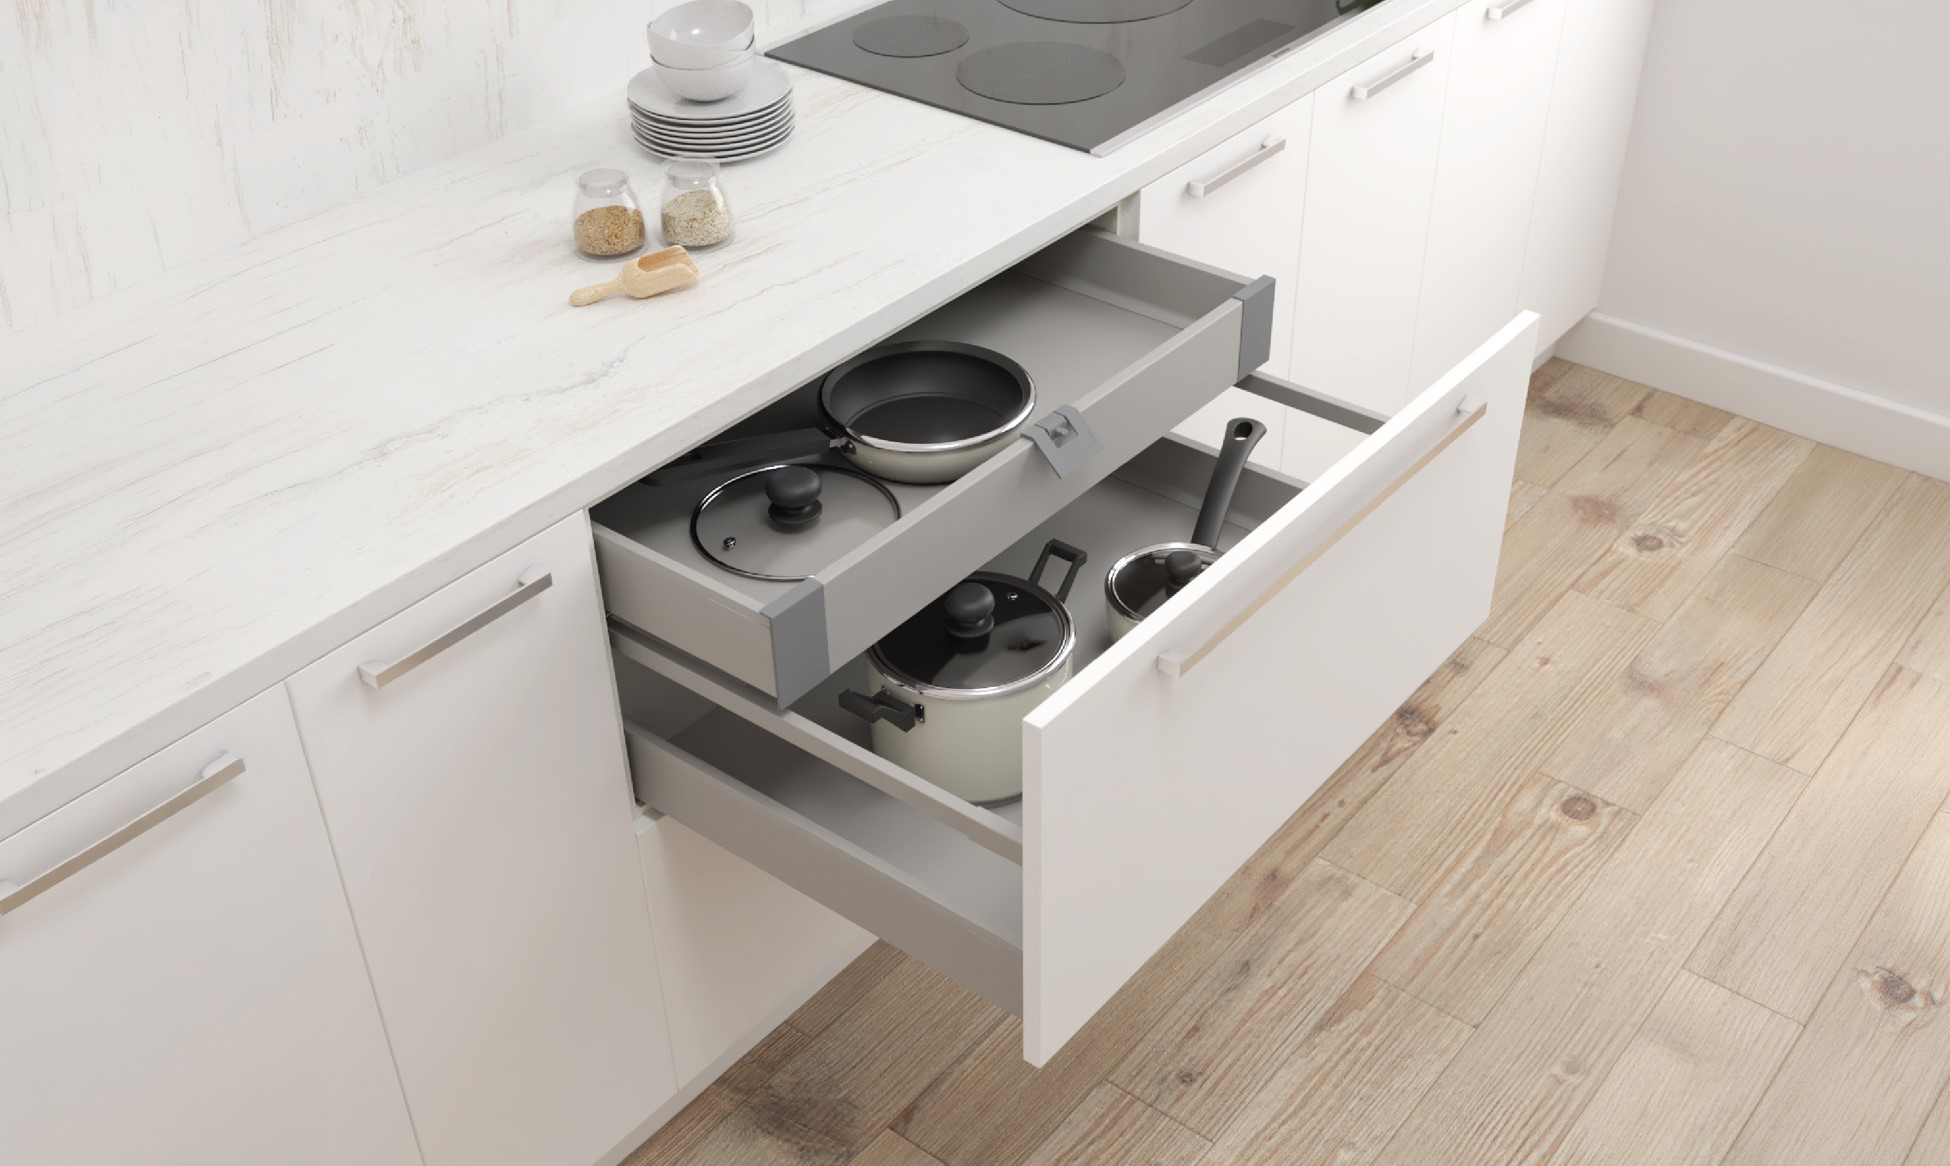
What should be checked before installing kitchen cabinets?
Before the installer starts, confirm that:
Final field measurements match the approved plan.
Appliance model numbers and installation instructions are available on site.
Every cabinet, panel, filler and molding has been received and inspected.
Studs, blocking, utilities and wall conditions have been identified.
The floor’s highest point and the level reference lines are marked.
Door, drawer and appliance clearances have been reviewed together.
Installation, inspection and replacement responsibilities are clear.
Frequently asked questions
What are the most common cabinet installation mistakes?
The most common mistakes include relying on old measurements, overlooking appliance specifications, skipping the delivery inspection, failing to identify studs and blocking, beginning from the wrong floor point, fastening before alignment, removing necessary fillers, missing opening conflicts, improvising crown molding and overlooking final adjustments.
How do you level kitchen cabinets on an uneven floor?
The installer should find the floor’s highest point, establish a level reference line and use appropriate shimming beneath the base cabinets so the full run remains level and the cabinet boxes stay square.
How should kitchen cabinets be fastened to the wall?
Kitchen cabinets should be fastened to verified studs or blocking with hardware and spacing suited to the cabinet construction, wall conditions, manufacturer’s instructions and local requirements; installers should also identify utilities before drilling.
Why are filler strips needed when installing kitchen cabinets?
Filler strips preserve the clearance needed for doors, drawers and appliances to open properly, allow a neat fit against walls that are not perfectly straight and help maintain the proportions shown in the approved design.
How do you prevent cabinet doors from hitting walls or appliances?
Review door swings, handle projection, appliance opening depth and neighboring drawers together before installation, then retain the specified fillers and use the correct hinge restriction component when the plan calls for one.
Should kitchen cabinets be installed by a professional?
Professional installation is strongly recommended, particularly for wall cabinets, complex layouts, appliance panels, crown molding and work involving utilities or code requirements. An experienced installer can evaluate the site conditions, follow the manufacturer’s instructions and coordinate the trades and measurements that follow.
Do cabinets or countertops get installed first?
Cabinets are generally installed, leveled and secured before the countertop is templated and installed, although you should confirm the required sequence and site conditions with the countertop fabricator.
The television reveal may get the soundtrack, but you will live with the installation. When the measurements, clearances and alignment have all been checked at the right time, you notice the finished kitchen rather than the mistakes that nearly made it into the final cut.
Find a Fabuwood dealer to plan your cabinetry with the specifications, support and professional coordination the installation deserves.

Credits and resources
This guide was informed by Fabuwood’s resources on cabinet dimensions, crown molding installation, cabinet adjustment and how to videos, with additional reference to the NKBA Kitchen and Bath Planning Guidelines, NKBA’s cabinet installation tips, Blum hinge assembly instructions, a current Whirlpool appliance dimension guide, and House Beautiful’s feature on the essential renovation work television often leaves offscreen.