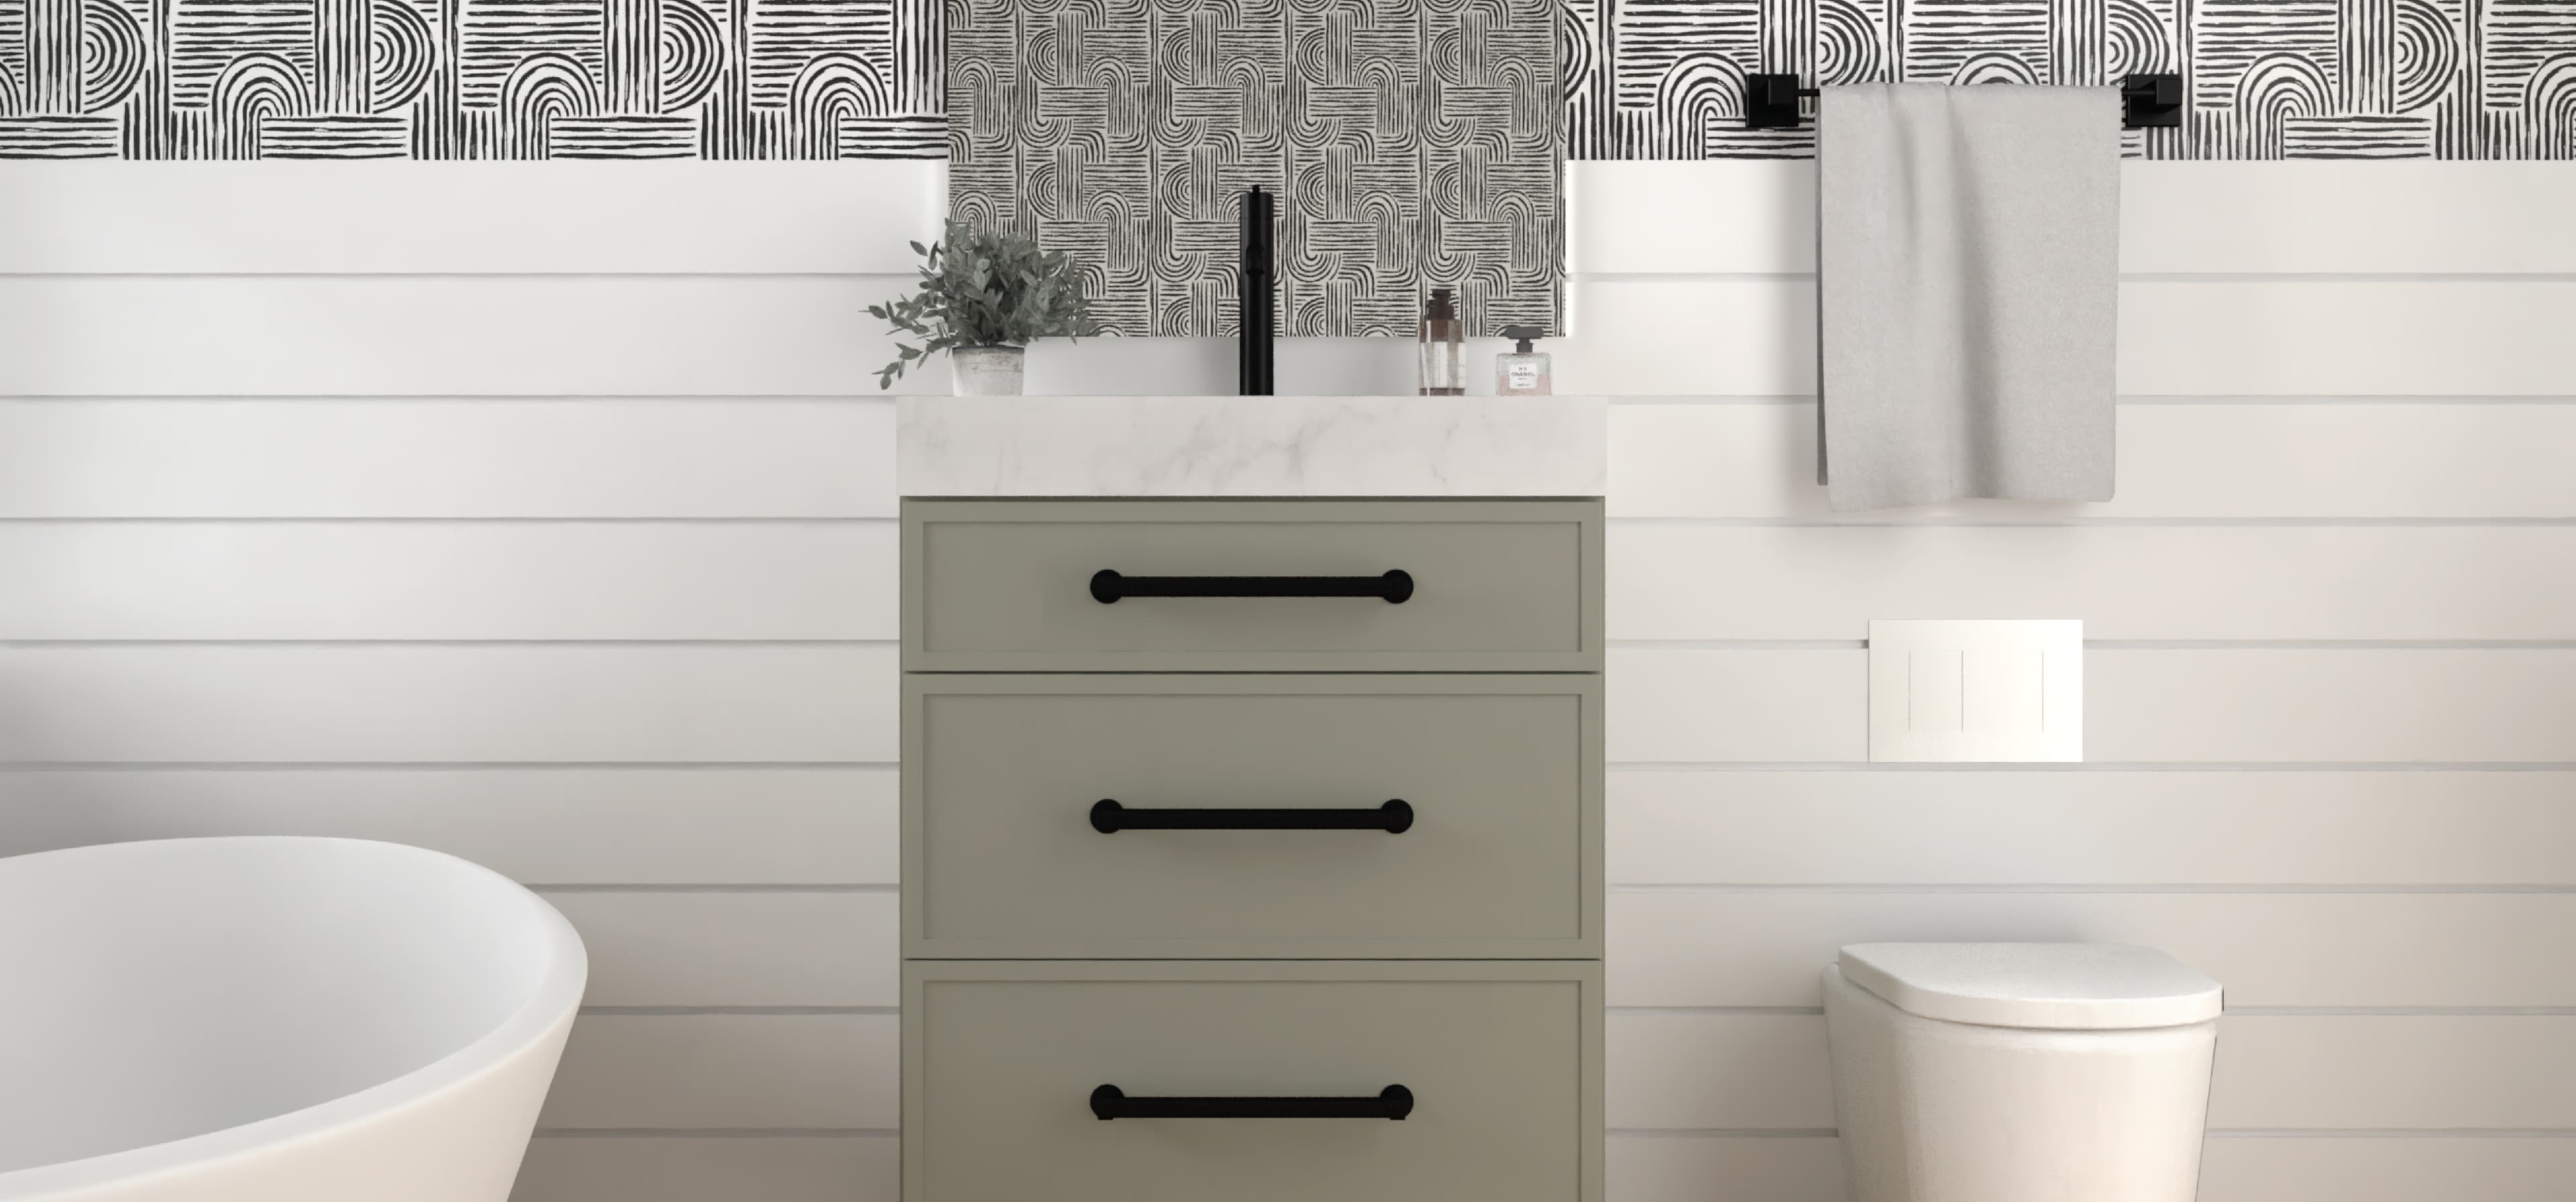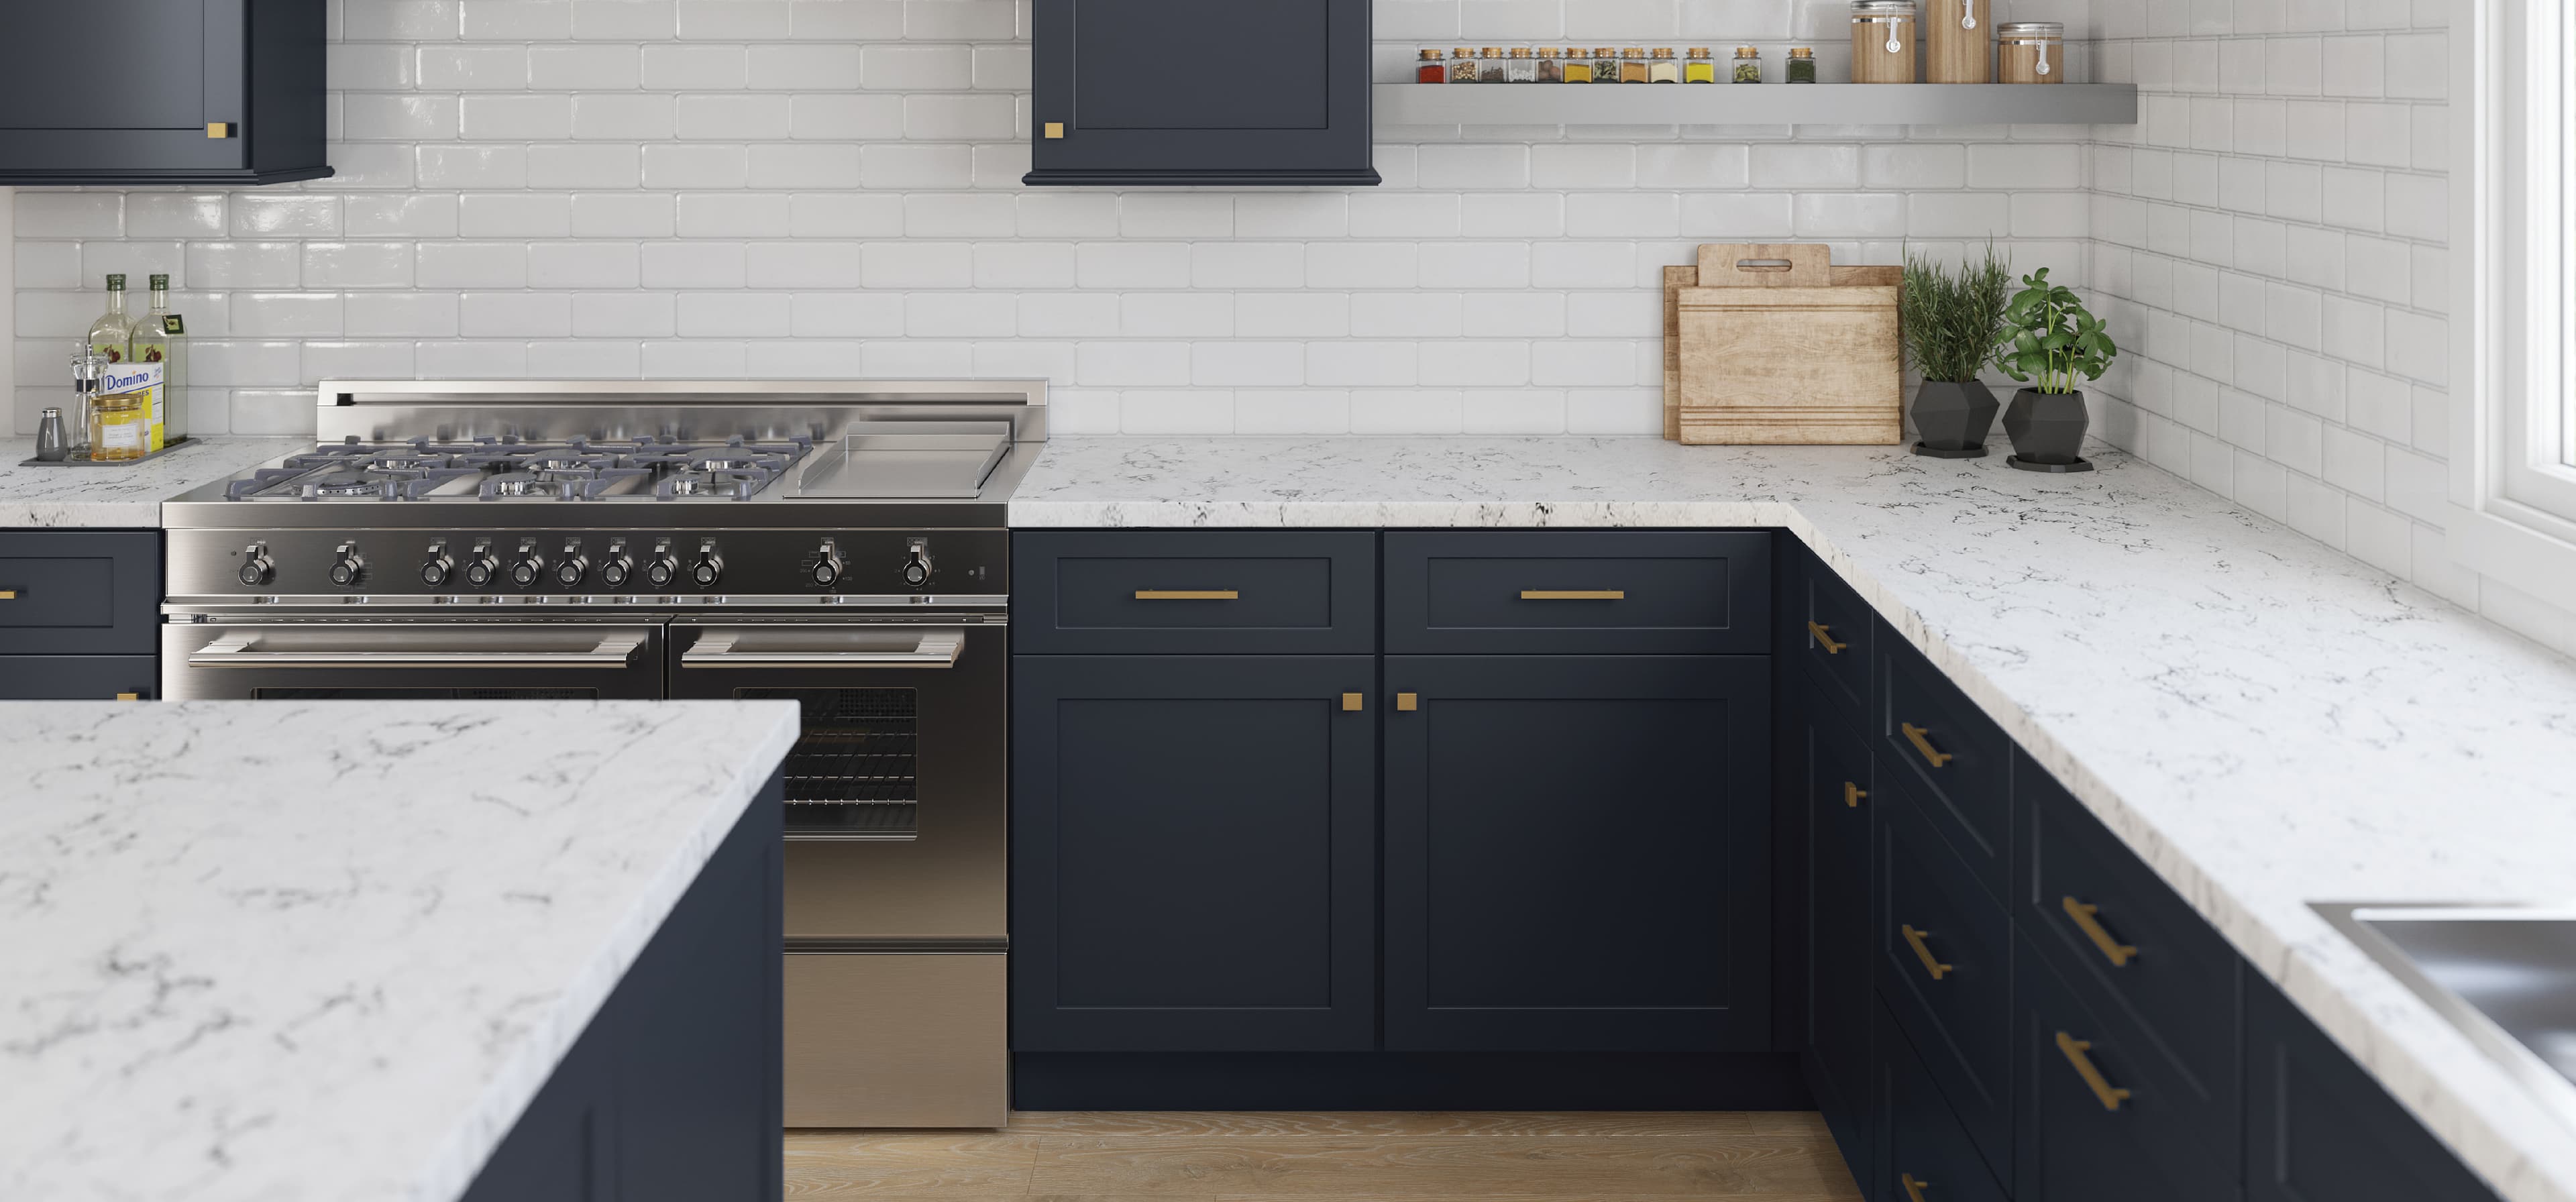
Granite counters are your ticket to a luxe, durable, and gorgeous kitchen (besides the cabinets, of course). Installing granite counters is for professionals only- we don’t recommend this as a DIY project. Several specialized tools are needed, and any mistakes can be costly. If you want to DIY your countertop installation, laminate is a great option that is quicker and easier to do.
This blog will walk you through everything you need to know about pro granite counter installation.
Step 1: Plan Like a Pro

Proper planning is the best way to ensure a smooth process when installing your granite. Start with a trusted granite vendor- shop around, compare, read reviews, and check out samples in person. Get to know what you like and don’t like, like bold patterns or subtle hues.
Choose a slab that compliments your cabinet colors and the overall vibe of your kitchen. You could always ask a granite pro while you’re shopping, too.
Step 2: Gear Up for Success

Here are the tools pros need to install your granite counters successfully:
Tools: tape measure, level, wet saw, jigsaw, grinder, clamps, drill, caulk gun, safety gear like gloves, goggles, and ear protection.
Supplies: Epoxy, adhesive, painter’s tape, granite sealer, soft cloths, shims, and cardboard for making a template.
Help: granite is VERY HEAVY. You can expect a team of installers in your home when installing granite.
Step 3: Prep Your Space

One rule of thumb pros always follow? Measure twice, cut once. Your installer will get precise measurements of your cabinets to ensure your granite slab is the correct size. Most granite shops offer laser templating for foolproof accuracy. What to expect before installation:
Disconnected plumbing
Removal of the old counters and backsplash
Appliances like sinks and cooktops moved out of the way
Make sure base cabinets are level so your counter will be level
Step 4: Bring in the Granite
Now, it’s time to cut the granite, fit it, and install it.
Your installer will use a wet saw to cut the granite according to your template.
Pro Tip: Your installer will always carry the slab vertically and use painter’s tape to protect the edges when transporting it.
Step 5: Install the Granite
Dry-Fit First
The granite slab will be placed on your cabinets to test the fit. If it doesn’t fit flush against the wall, the wall will be modified (if it’s drywall), or the granite will be modified (shave the granite edges, if necessary, with a diamond blade grinder).
Join the Seams
If you have a few slabs, the installer will join the seams with a color-matching epoxy and use a specialized seam setter tool to ensure the seams are level, smooth, and virtually seamless!
Secure the Granite
The installer will attach the granite to the cabinets using adhesive. They will also caulk along the edges where the granite meets the cabinet top.
Step 6: Seal the Deal
A granite sealer will be applied to protect the surface from stains, spills, and scratches. DIY Vs.
How to Care for Your Granite Countertops

Follow these tips to ensure your granite counters will look like new for decades:
Wipe up spills right away
Clean weekly with mild dish soap, warm water, and a soft cloth
Avoid harsh cleaners and sponges
Never cut directly on the counter- always use cutting boards
Cost of Granite Counters
The cost of granite counters varies depending on the color, size of the slab, and thickness. On average, the cost ranges from $40-$200 per square foot for more exotic varieties. If you get a pro installer, this can cost an average of $35-$85 per square foot.
We know how transformative a beautiful kitchen can be. Whether installing granite or other countertop options, updating your cabinetry, or doing a complete reno, we’re here to help you create a space that feels like home. Order your sample doors to see how they’ll look with your counters!